


Wings Completion is in sight!
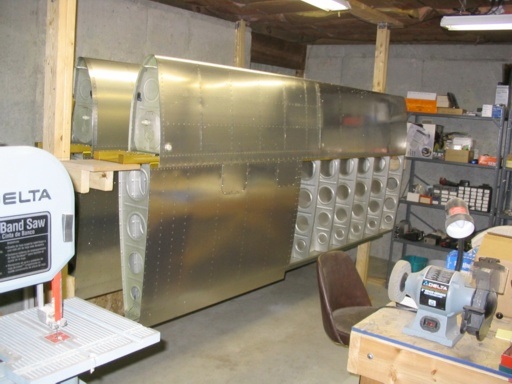
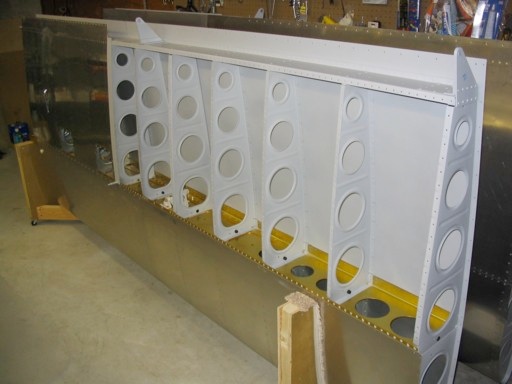
These are the wings pretty much as delivered. Much of the structure is complete. The builder has to install the internal hardware, mount the ailerons and flaps, and wire it up as desired/required.
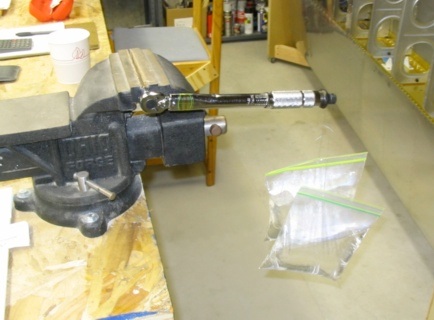
Before starting on the wings, I wanted to make sure my small torque wrench was accurate down at the low torque settings required for the AN3 bolts. It's fairly simple to add a known weight at a known arm length and make sure the torque 'click' occurs when expected. Those are Ziploc bags (negligible weight) filled with a known quantity of water at a known length from the pivot. 25 in-lb or torque is not a lot.
The cheapo Harbor-Freight torque wrench was spot-on.
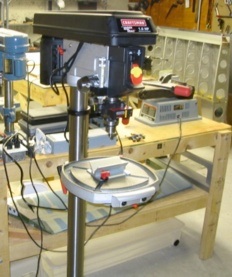
I treated myself to a new drill press prior to dinking around with the control rods. The old, cheap Reliant model can be seen on the bench behind the new one.
When you can feel the play in the spindle head, it's probably time to upgrade.
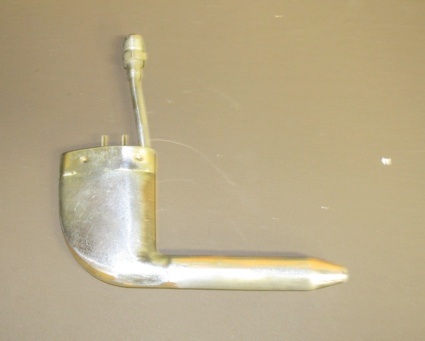
Heated pitot tubes are ridiculously expensive new. I asked the local mechanics at Twin City Airmotive where they would buy parts like this and they gave me some names of salvage suppliers.
This one is from Oregon Air Parts. $175 for a used, heated tube from a Mooney still seems like a lot, but a while lot less than a new one from Spruce.
The chrome plating was shot, but easily came off on the scotch-brite wheel. I'll paint it up and it will look like new. I test wired it and it gets very, very hot.
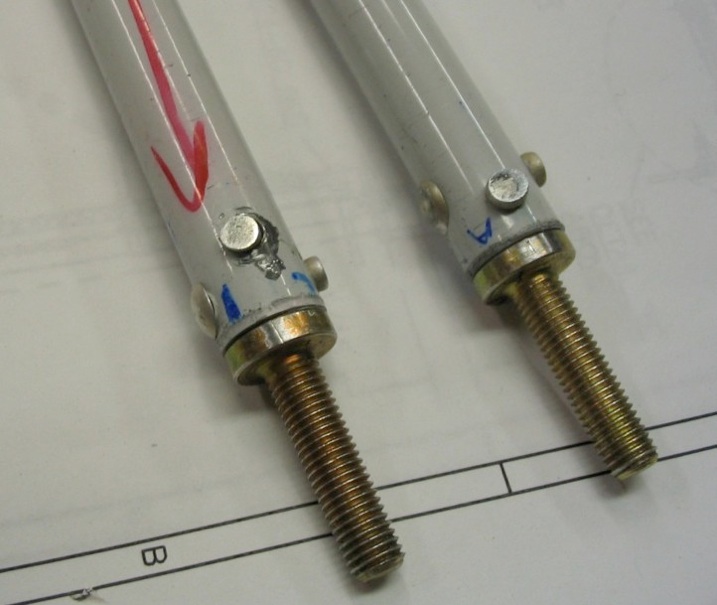
My first attempt at the control rods resulted in failure. This is supposed to be a pretty easy part, but I managed to keep tipping the rivets. I was using the gun, not the squeezer. Mistake.
Since the surface is curved, it's hard to keep the bucking bar aligned while driving. The holes probably were not perfectly square as well.
Once the damage was terminal, I drilled them out and kept hammering away to gain practice.
New parts ordered. Received within a week from Van's.
The second set was much better. I used the Avery squeezer and was very careful to steer the rivets as they were formed. Much, much better. I primed the ends since the powder coat get scratched during the process.
Rustoleum metal primer on the inside as it's nice thick and easy to tell that the inside was covered thoroughly. Mar-Hyde was too thin to tell whether the inside was coated well.
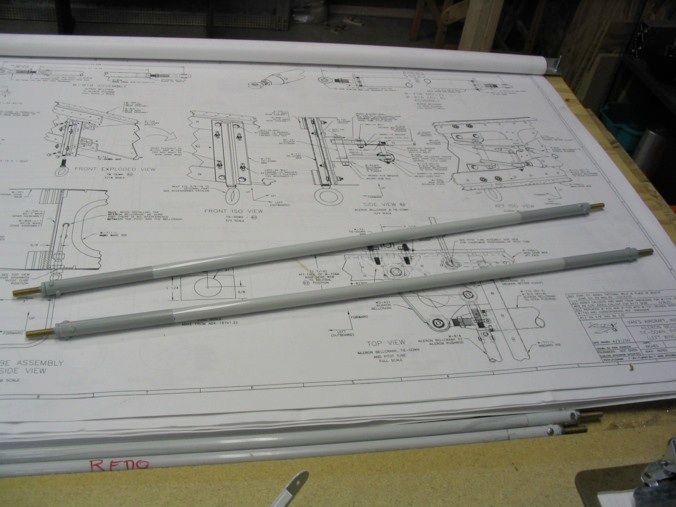
I used the same primer inside the larger control rods that run from the stick to the bellcrank.
The aileron hinge brackets were easy. Match the parts, smooth them, drill, debur, and countersink where required.
Aileron gap plate installed, drilled, deburred and dimpled.
Flap brace installed, drilled, deburred, and dimpled/countersunk where required. Read the plans carefully.
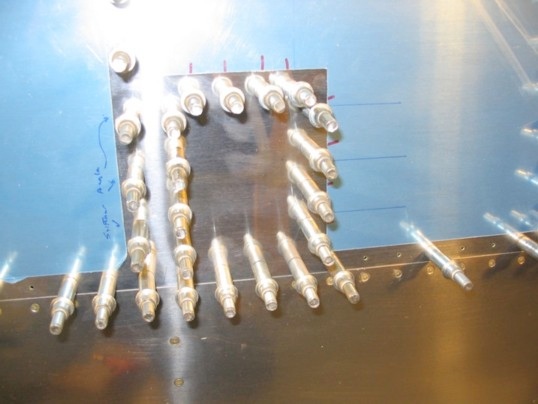
Interior control hardware installed in the left wing. Made up the little spacers for the aileron hinge. Had to add just 1 more -10L washer on the inside hinge mount to make everything match perfectly. This is, of course, all temporary.
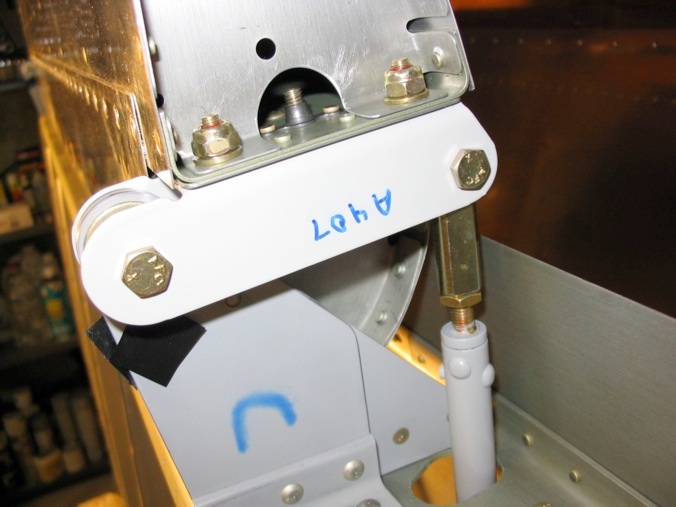
Aileron hinge detail.
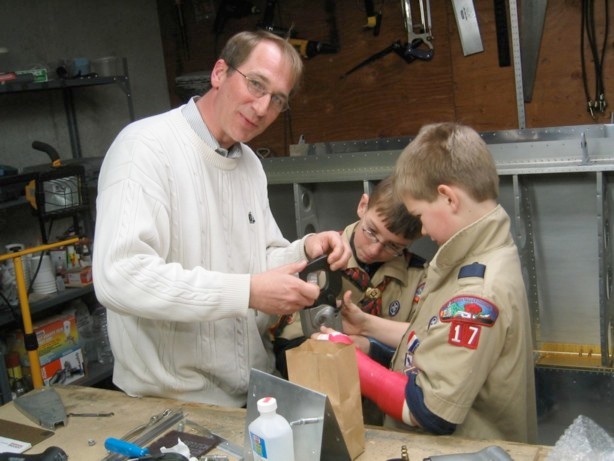
I had a local Cub Scout troop over to check out the project. Here they are cleverly riveting my fingers together.
Scamps.
(3/20/05) I am ready to drill the flaps. Everything was lined up when I discovered that the flap hinge was not wide enough to yield the proper rivet edge spacing. In speaking to another builder who got his kit at the same time there are apparently a number of 8's had this problem. The solution is to get an AN257-4 hinge which has a wider rivet zone.
When installing the right wing bellcrank, I noticed I laid out AN3-5A bolts instead of -6A's. I decided to double check the right, and sure enough, they were too short. Good thing I checked. It inspired me to do a HW audit on everything I installed, re-check the torque on the bolts, and apply marking torque-seal.
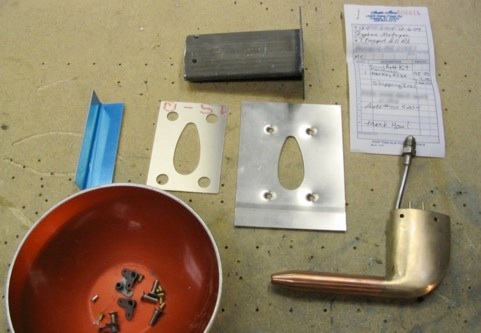
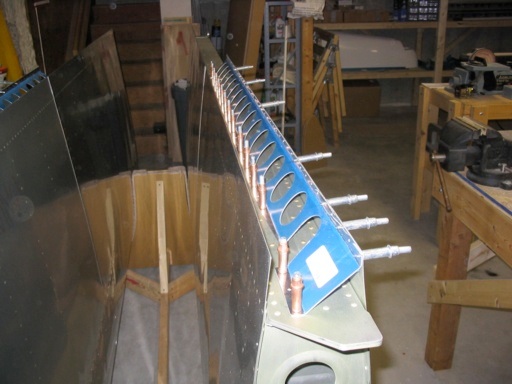
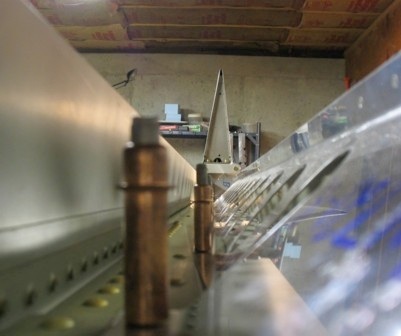
Here are the parts for the Pitot mast mounting unpacked and ready to fab. The backing plate is a little wavy from the dimpling, but should bend out fairly cleanly.
I bent up a little .032 angle to get riveted to the rib for stiffening.
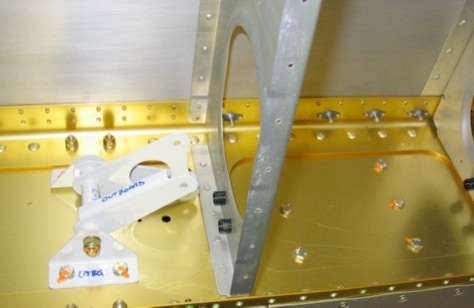
(3/27/05) Initial fitting of Gretz mounting plate to the wing.
I started by placing and drilling the backing plate to the wing spar only. Placement is outboard 1 bay from the bellcrank. The support angle was then carefully placed using the backing plate and a ruler across the ribs to insure it was flush.
The angle was then drilled and clecoed to the rib.
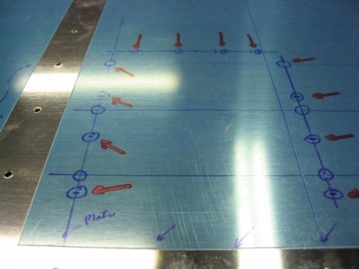
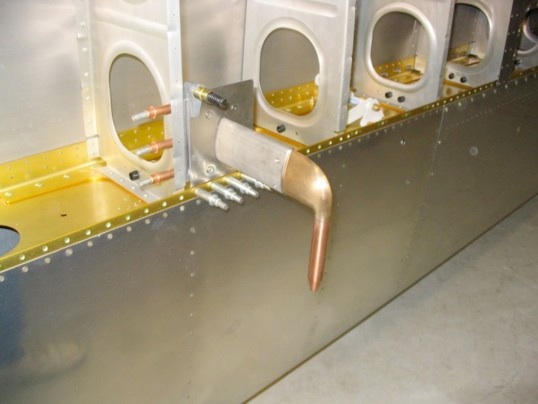
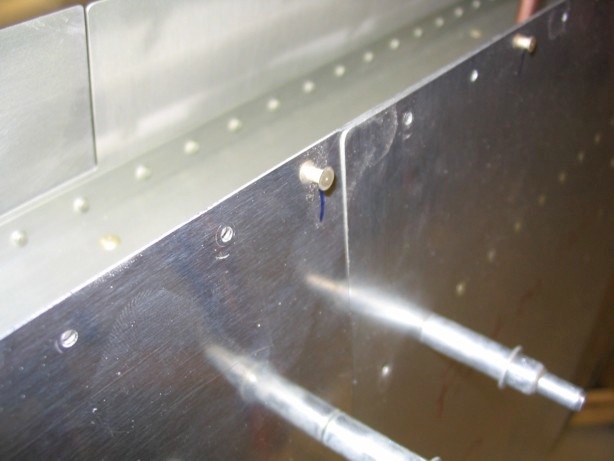
The rivet positions were determined based on the drawings and careful measurement from the rib rivet lines. These measurements were transferred to the skin (and double or triple checked), then the skin was drilled. This is a little different from the instructions, which call for the backing plate to be drilled first and then the skin to be drilled through the backing plate.
I don't have a right angle drill and the Sioux won't fit between the skins. This seemed easier.
The skin was then clecoed on, the plate clecoed to the spar and the holes drilled through the backing plate while holding it flush to the skin. Be careful when sliding the plate between the angle, I managed to scratch the skin up a little wedging it in there.
Then remove the skin, cleco on the plate, mark and hog out the pitot tube opening and drill the screw holes. I don't have a #8 dimple die yet (another Avery order on the way), so the screw dimple will have to wait.
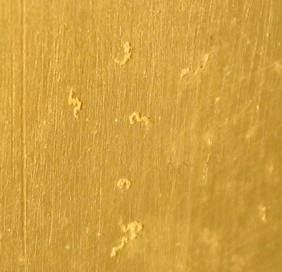
Corrosion?!?!? While getting intimate with the wing, I noticed that there was this white powder-like substance on some of the ribs, and some had these little white tendrils growing on them. The picture shows it very yellow, but the tendrils are actually very white. Is this filiform corrosion?
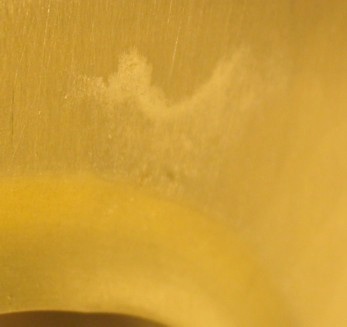
Other rib spots have white powdery stuff on them. Again, this stuff is very white. Don't know why the camera shows it as yellow. More evidence of corrosion? It's got me thinking about priming the ribs in the open wing bay and wondering about the ones that are already enclosed.
Got my Bob Archer wingtip antennae in the mail. They look good. Be sure to get one left and one right. I'll have to think about the electrical magic going on here as it is not intuitively obvious how they're supposed to work.
I had to order a -4 hinge for the flaps since the stock -3 did not provide the correct edge distance. With the wider flap hinge I had the opposite problem in that it was too wide, so I had to trim it back about a 16th and an 8th to clear the flap brace. To "pin" the flap brace to the skin, I took AN426AD3-3.5 rivets and lightly squeezed them into the flap brace and skin with the inside face of the rivet flush with the face that mates to the flap hinge and the manufactured head well proud of the wing surface.
Jigging everything up, clamping and aligning is a bit of a trick. A lot of stuff has to be held and lined up perfectly. The whole mess is then clamped together and drilled. Once drilled, the "pins" are pulled out, and those holes drilled. Sounds involved, and it is, but the results are worth it. Straight flaps. Since the bottoms skins are on for this process, drill them to the wing, then disassemble everything, debur and dimple. Remember, the flap brace gets countersunk, not the hinge.
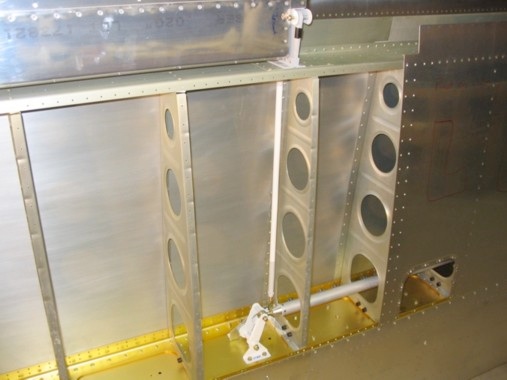
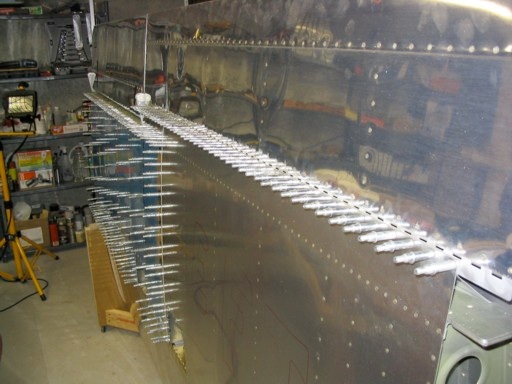
I settled on cheap Home-Depot 1/2" wiring conduit. It's like Van's black stuff only about $2 for 10' and much more rigid. I made these little U brackets and will rivet them to each rib I can get to. I only mounted it to about 1/2 the ribs inside the closed bays since I can't easily get the drill in there. Drilling those closed bays took 90% of the time for this operation.
(7/4/05) The fact that I found a little corrosion on the inside of the wings irked me, so I broke down and masked the interior bays, cleaned them up and shot primer. This was hugely time consuming and stunk up the house like you can't believe. Clearly there are some kinks in the mass priming gig that I need to work out. I also primed all the pre-prepared components and riveted the whole mess together, final riveted the wiring conduit, and trial fit the pitot tubing.
I was really unimpressed with the wash primer when doing the prep to shoot the primer on the wing interior. Just wiping down with IPA (which is a very mild solvent) caused the primer to lift off on the wipe rag. I will probably squirt some Corrosion-X inside the closed bays after painting the exterior of the plane. Call me paranoid - I don't care - it's my plane, not yours.
The todo list on the wings is getting short:
-
•Final mount the pitot plumbing (I need to get a flaring tool).
-
•Final mount the control rods.
-
•Rivet on the bottom skin.
-
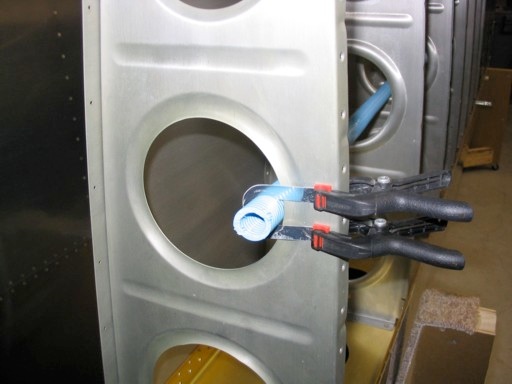
•Mount the fuel tank endplates and level senders (I need to get some proseal).
The tips and wing wiring will get worked off and on as I feel like it. They'll be a good change of pace periodically.
Stephen D. Metzger Lunenburg, MA © 2011