
Flox Pads
05/09/10 16:37 Filed in: All
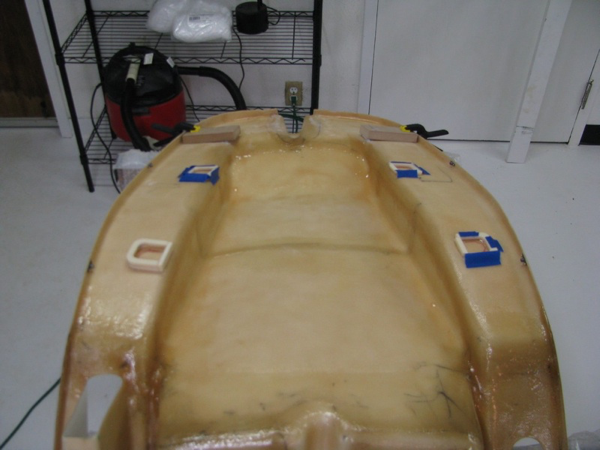
I laid up a strip of fiberglass on the right hand side between the tabs. The pan currently rests on the tab welds, and I don't want to grind those or the flat part of the pan, so I will build up the area between the tabs slightly. Two strips of cloth was not enough, so I will probably build a little dam and pour a thin strip of flox (resin and cotton fibers) between the tab locations and sand it down until the pan rests on it.
I did this little section first to get reacquainted with fiberglass. It's been a while. Warm the resin! My can was maybe 65 degrees when I poured it and it glooped out like toothpaste. I had to heat the cup in a pan of warm water until it flowed like honey before starting. I remember that now and have re-set-up my box with a lightbulb to keep the resin warm on fiberglass days. Unlike most RV builders I actually like working with fiberglass. It's kinda magic to take chemicals and floppy cloth and build something remarkably strong out of it.
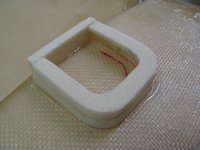
I made little U-shaped dams out of urethane foam to contain the flox "pads" for the seatpan mounting tabs. The foam was tacked down with 5-minute epoxy, then the flox was mixed and poured into the cavity. Flox is much thicker than resin, but still thin enough to flow, so you have to either pour it flat or contain it.
On the left side curve (second tab down from the top, the distance is quite large. Instead of bending the tab a ton, which will draw the hole closer to the curve of the seatback, I will just build this one up taller and leave the tab only slightly tweaked to be flat with it.
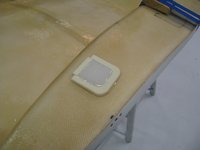
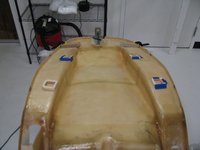
Flox poured. In all cases I built the pads to be taller than needed so I can then sand them down. The foam will then get sanded to a nice radius and a layer of thin cloth laid up over the top of the whole thing.
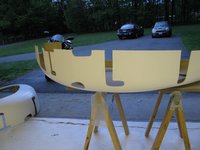
I cut the scribed slots in the fuselage halves. Overall the fiberglass looked sound, and there are just a couple of locations on the edges where the gelcoat got thick and there is a little separation between fiberglass layers. Those will get sanded out and a new strip of cloth or two added since they're right on the joggle lip mating surface and need to be strong. Gelcoat is non-structural. The interior is quite sloppy. There are a lot of little hairs and some places where resin pooled up. I will sand those down and probably be able to take down enough to compensate for the weight of my flox pads. Net sum zero on weight gain for my mods.
I may be critical of certain things on this kit that are less than perfect, but overall I am impressed by what you get for the money here. I have no idea how Eagle can do this for the price of the kit.
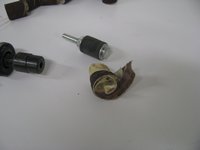
The sanding drums for the die grinder are quite remarkable. They work great, right up until you catch the end on a lip or edge, then they explode, sounding like a gunshot going off and just disappear at high speed across the room. I've used this thing a lot and have never done that before, then I had it happen twice in ten minutes. Guess that means I'm getting sloppy and it's time to stop for the day.
Eye, ear, and dust protection are a must.