
N-Number Reserved
01/07/14 23:45 Filed in: All
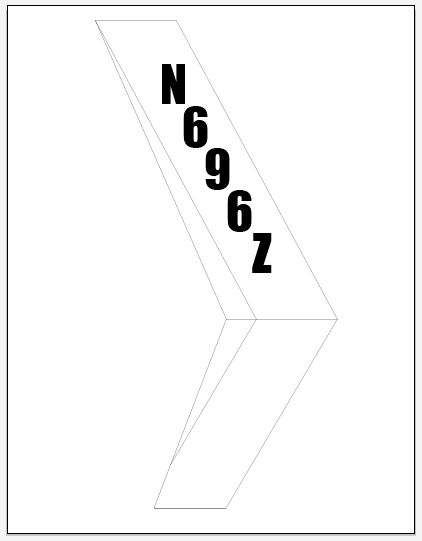
Hooray! I got notice of my reserved N-Numbers from the FAA today. Though not difficult to get or an especially tricky milestone, it IS an indication of the project progressing.
I ordered some custom vinyl lettering from DIYLettering.com; Pre-cut green vinyl letters 3.5" tall. The font is "Impact", which looks very readable.
Drilling and Aligning Fins
09/03/12 13:38 Filed in: All

To get the horizontal fin at the correct 5° angle, and to keep the relationship of the vertical fin reasonable and the position of the rear mounting hole centered in the doublers (don’t worry, it would make sense if you were building one), I found things to work better if I placed a 0.125” spacer under the front vertical fin mount. This also allowed for the milling of a tilt to account for angular mismatch between the fin and the frame mount. Quick job on the Grizzly.

When I first started making these tubes I thought I would simply use my fabricated tubes as templates and then go have a welder make “real” tubes with a welded endplate, but I must say that I am actually pretty pleased with the results. The double MAP torch trick seems to work as Home Depot MAP torches do not seem to burn hot or concentrated enough to thoroughly melt the tube, but the flame temp (3600 degrees) is well above the annealing temp (1590 degrees) of 4130 steel.

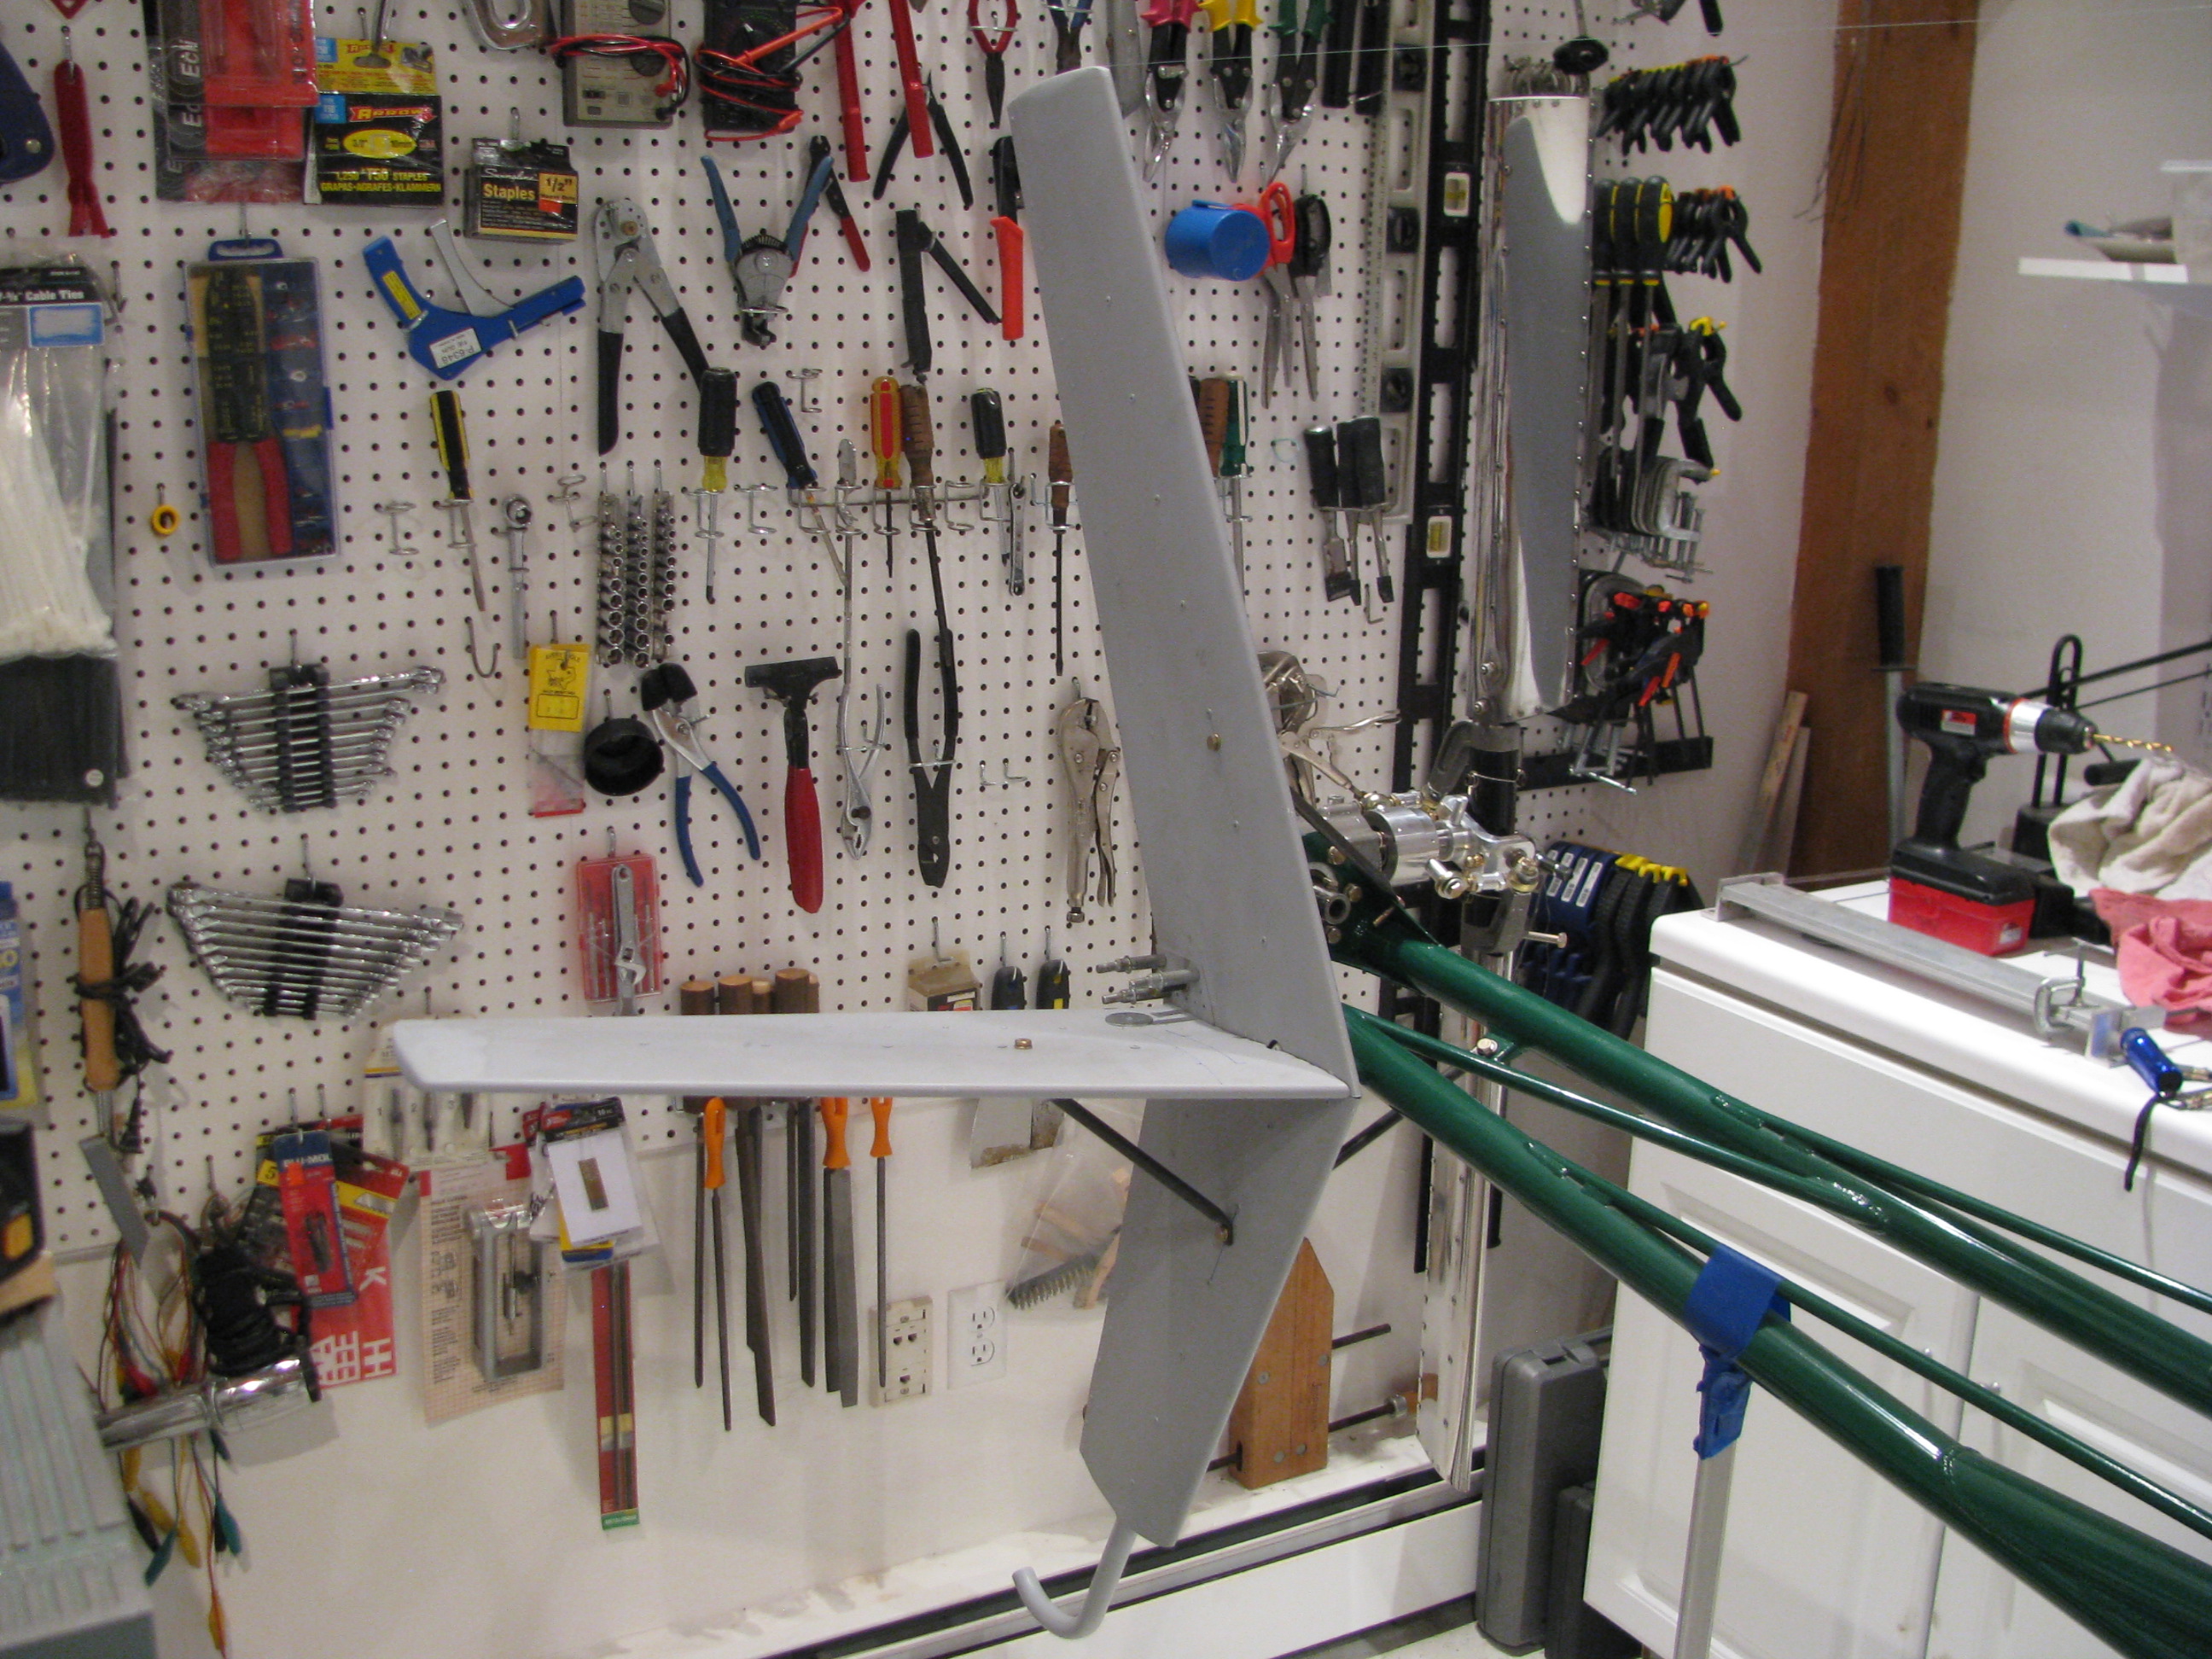
The finished (almost) fin mounting job. I just need to redo the single lower tube, final rivet the central fin doublers, drill the horizontal fin to its mounting stub tube and fashion a bracket at the rear of the horizontal for added support to the vertical. One evening.
Of course during flight checkout all these may have to be boogered around a bit, but for now I am pleased that they are spot-on the planned dimensions and angles.
Fin Brace Tubes
08/20/12 13:37 Filed in: All
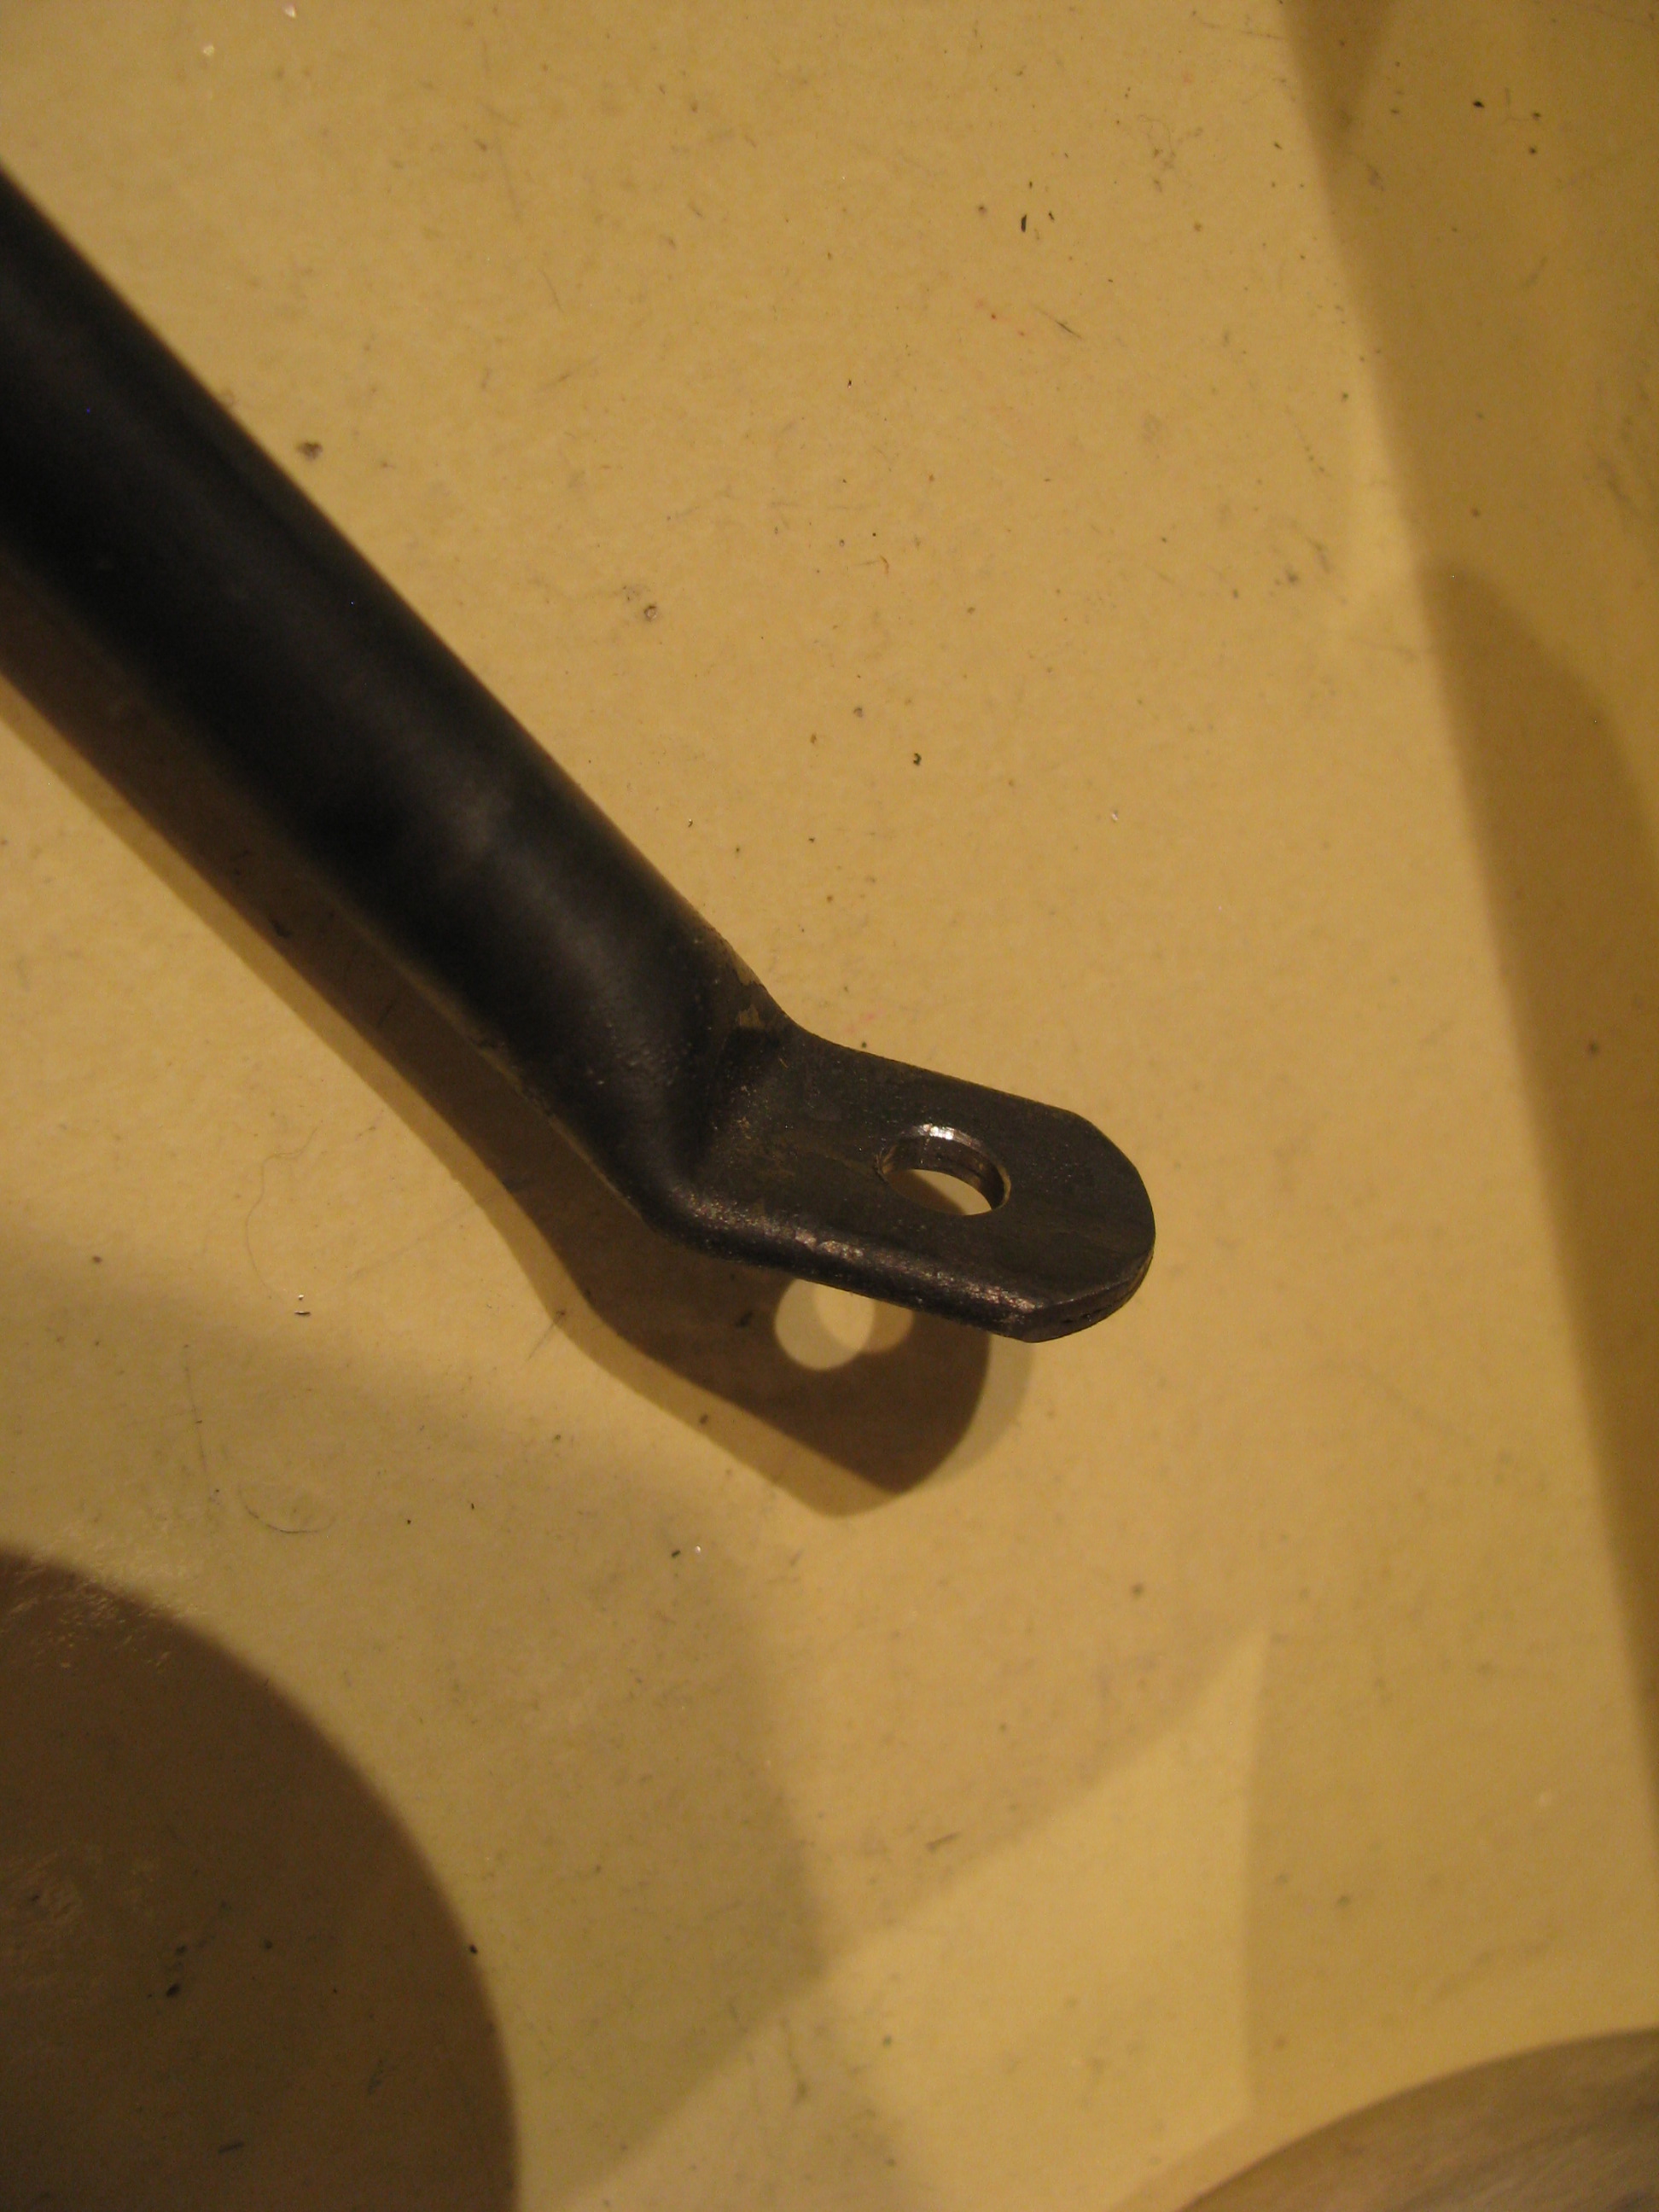
I got out my torch and bent the tubes that are to support and align the tailfeathers. As with most operations that are new to me, the first one came out great, then the second two were sloppy I need a better device for squeezing and bending the heated tube that is a little more precise. I am going to do some experiments to see how strong the heated and bent tubes are as that is a questionable procedure in my mind. I am heating the tube with a pair of MAP gas torches which gets the tubes bright orange, but not cherry red. Good thing I bought an extra 3 feet of tubing from A.S.
I ended up grinding some generous curves on the outside of a couple of chunks of aluminum angle to cover the vice jaws, so that when I squeezed, the hot tubing it would have a gentle bend instead of a sharp break at the end of the angle.
Every time the tube is heated and squeezed the aluminum picks up some scale from the steel that has to be scraped off since it’s hot enough to braze the scale to the aluminum surface and stick.
Once the hot tube touches the jaws you have about 2 seconds to complete the bend before the heat is wicked away and the tube re-hardens.
Once the squeeze and the angle look good, reheat and get the whole bend bright orange to re-anneal and let it cool very slowly. I played around with more rapid cooling on test pieces and it makes a huge difference. I had one piece so hard that drill bits could not get any bite at all and just burned.
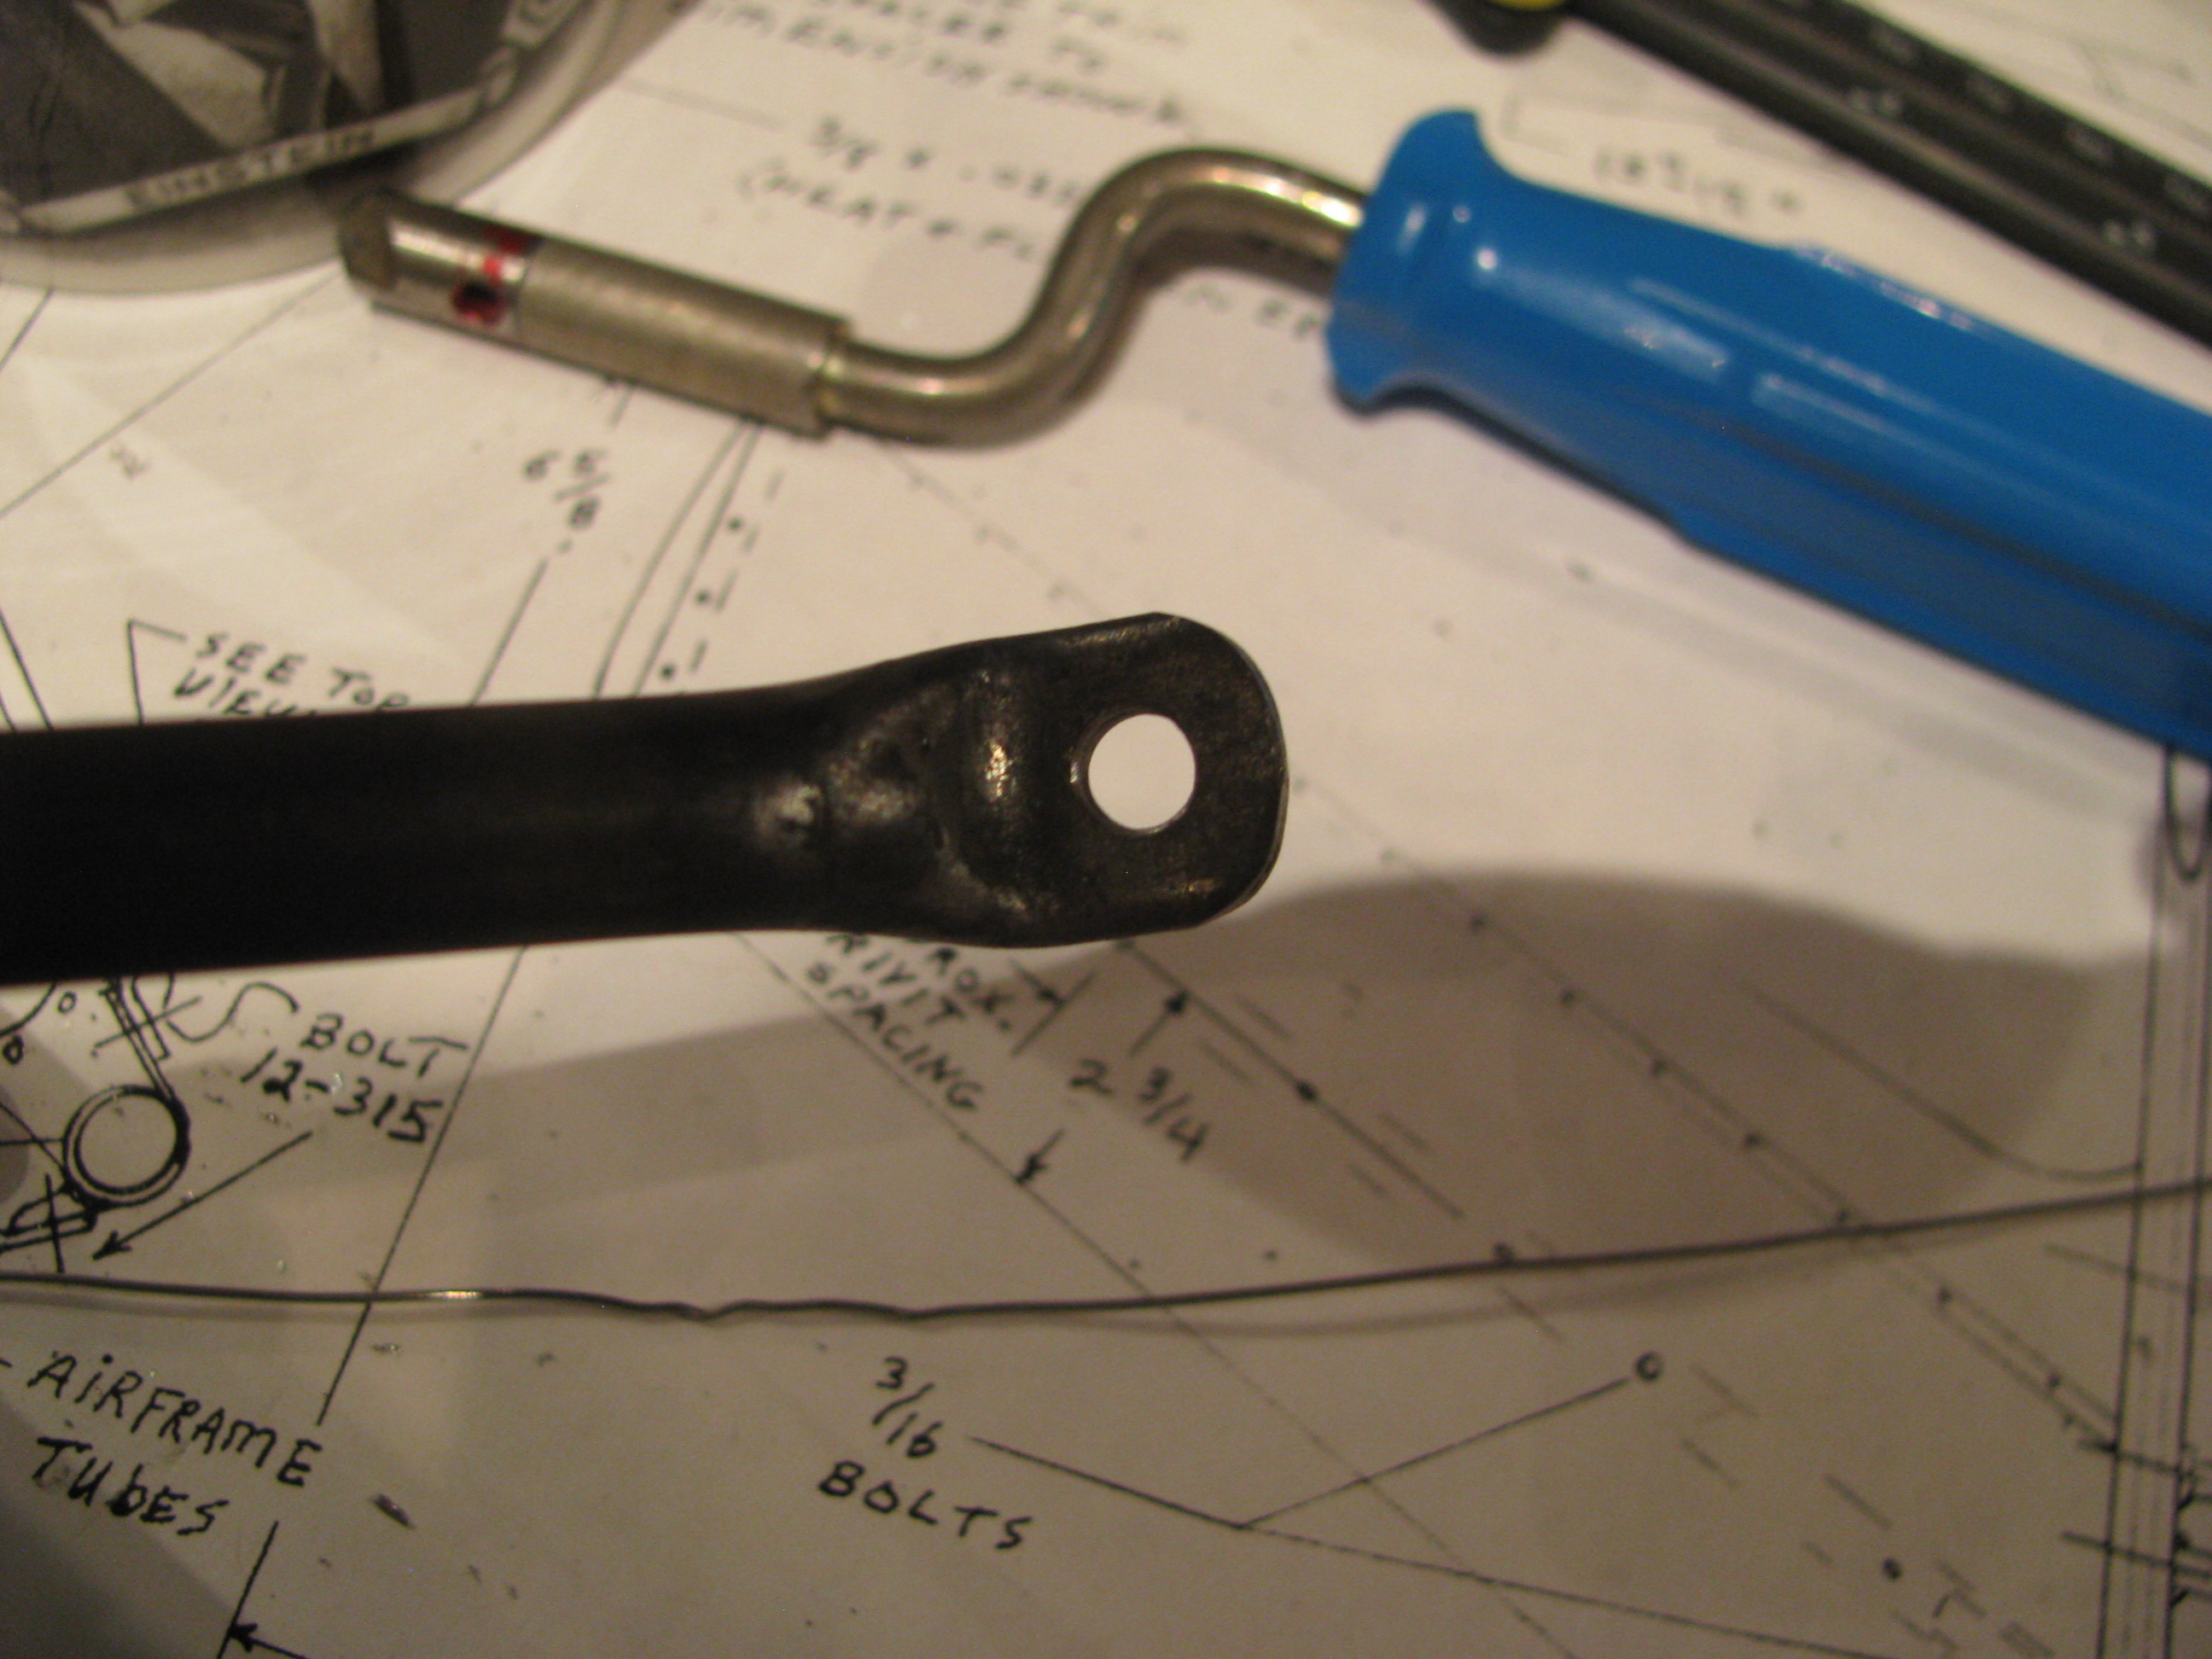
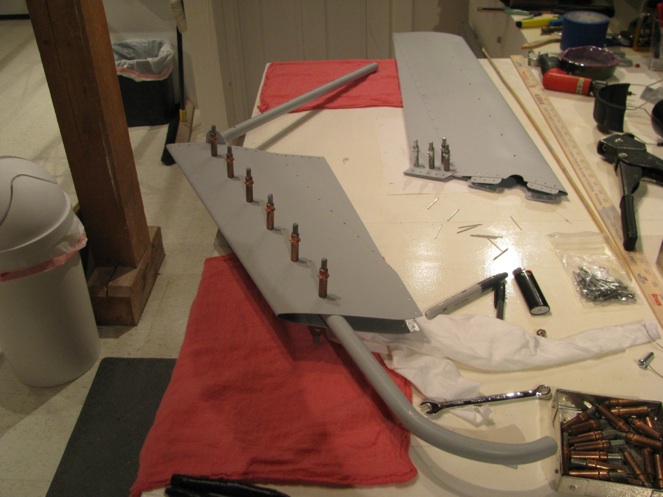
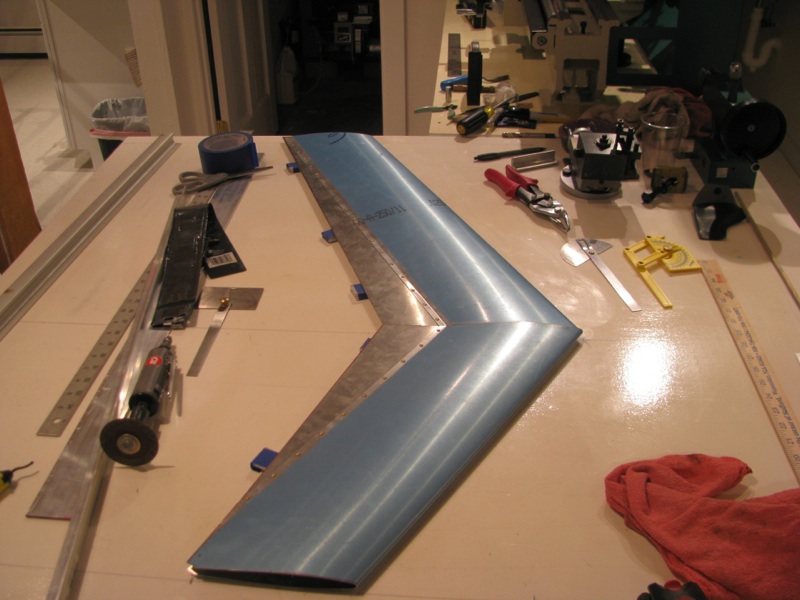
Finished Vertical Fin
03/06/11 17:55 Filed in: All
Finished construction on vertical fin. Primed the inside of the spar and the fin sections by just cleaning and pouring in the primer and sloshing it around. Should be good enough since the fins are already alclad. The outsides are primed too. I am a prime-as-you-go kind of guy having had bad experiences with corrosion in the past.
Here’s little trick I read about elsewhere and modified a bit. To locate the exact, precise centerline of the steel spar under the fin I got these little powerful half inch round neodymium magnets. They naturally seek the spar centerline. Just prior to the rivet location, make a little “puddle” of Sharpie ink (or machinist's ink if you have it) and “push” the magnet through the puddle across the rivet line using a piece of aluminum.
Invariably the spar is not precisely on the measured and marked centerline. Using this trick the magnet pushes a line of ink and gives you the exact drill point. This one is toward the end of the fin and is off the measured line by about 1/16th of an inch.

Had I just drilled on the drawn spar line the rivet would have been slightly off center of the spar and a dimple would have resulted when the rivet drew things together and canted .
Here are the pieces coming together for the final time before riveting. You can see where I drilled out the lower rivets of the lower section so the curved tube would fit through without damaging the thin skin.
Here’s little trick I read about elsewhere and modified a bit. To locate the exact, precise centerline of the steel spar under the fin I got these little powerful half inch round neodymium magnets. They naturally seek the spar centerline. Just prior to the rivet location, make a little “puddle” of Sharpie ink (or machinist's ink if you have it) and “push” the magnet through the puddle across the rivet line using a piece of aluminum.
Invariably the spar is not precisely on the measured and marked centerline. Using this trick the magnet pushes a line of ink and gives you the exact drill point. This one is toward the end of the fin and is off the measured line by about 1/16th of an inch.
Had I just drilled on the drawn spar line the rivet would have been slightly off center of the spar and a dimple would have resulted when the rivet drew things together and canted .
Here are the pieces coming together for the final time before riveting. You can see where I drilled out the lower rivets of the lower section so the curved tube would fit through without damaging the thin skin.

Fin Fabrication Start
02/04/11 17:45 Filed in: All
The fins use a prefabricated airfoil section that has to be cut per the plan, then fit to the steel tube spar. Cutting to shape was no problem, but I committed my first helicopter part butchery on the lower section. The tube spar has a curved lower section. In jamming it through the airfoil section I made a faint crease in the very thin aluminum skin. What I should have done is drill out the lower rivets to allow for easier fitting and riveted it back together on final assembly at the end. Oh well. Apparently I am not the first to have done this.
A replacement fin has been ordered, and surprisingly has arrived within a week. The box it came in also contained a turbine. Hooray!!! I have been pestering Eagle for almost the last year asking about my turbine. The answer was also “two more weeks”. Well pester-no-more. I have no immediate use for it, but I feel so much better having all the major helicopter pieces in my possession. No matter what happens to Eagle - not that I think anything will - I will be able to complete my machine.