
Initial Fuel System Work
10/10/11 23:07 Filed in: All

The fuel system on a Helicycle is relatively complex compared to “normal” aircraft. There are a couple of reasons for this. First, the turbine is very thirsty and needs large capacity. Second, the fuel must be centered on or near the CG since this is a light, single-place machine.
Consequently, there are four different tanks and the associated plumbing and interconnect. Management is easy, though. Since everything gravity feeds to the lowest point where the pickup resides, there is no switching or pilot involvement required other than making sure you don’t run out.
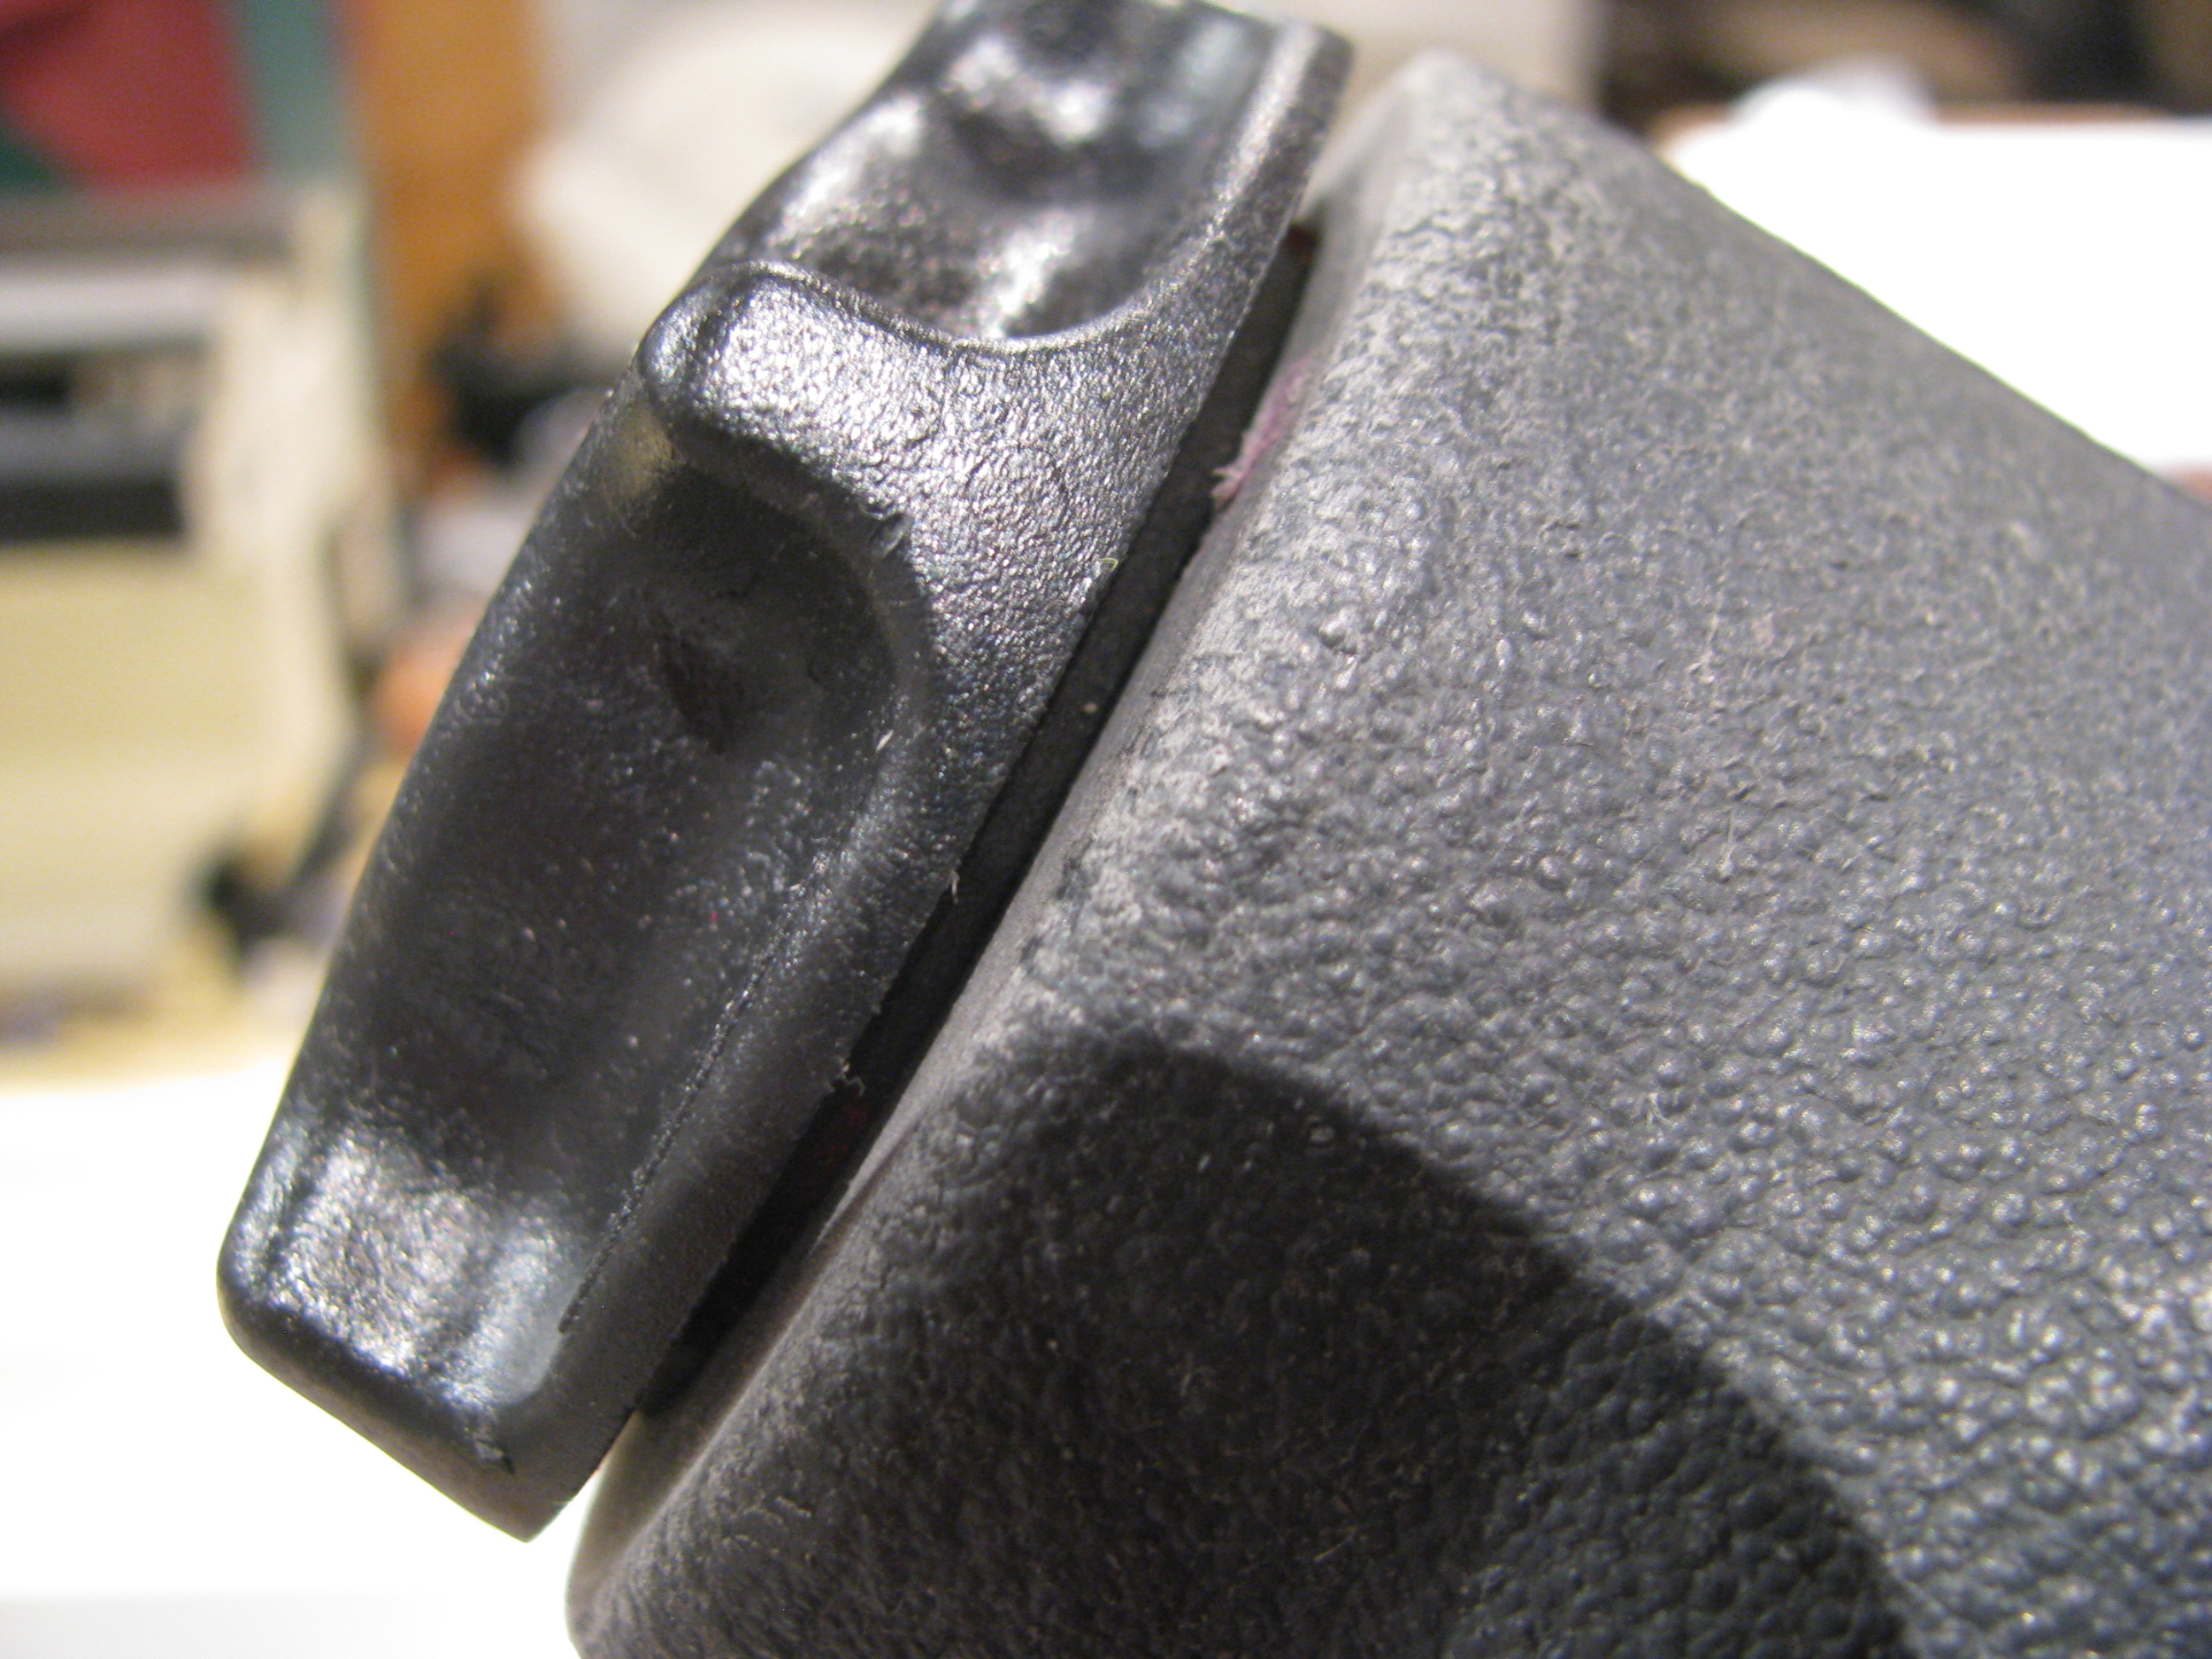
The first thing BJ has you do is to file a bit off the cap threads to allow it to screw in snugly, but smoothly. Easy and quick.
Next is to file the gasket area flush for a good seal. The tank is relatively thin, so don’t be ham handed with the sanding.
A lot of guys seem to modify the gas cap area to allow for better Jet-A fueling options. Maybe I will too, but not until the machine is built to the plans first. Gotta finish, then modify.
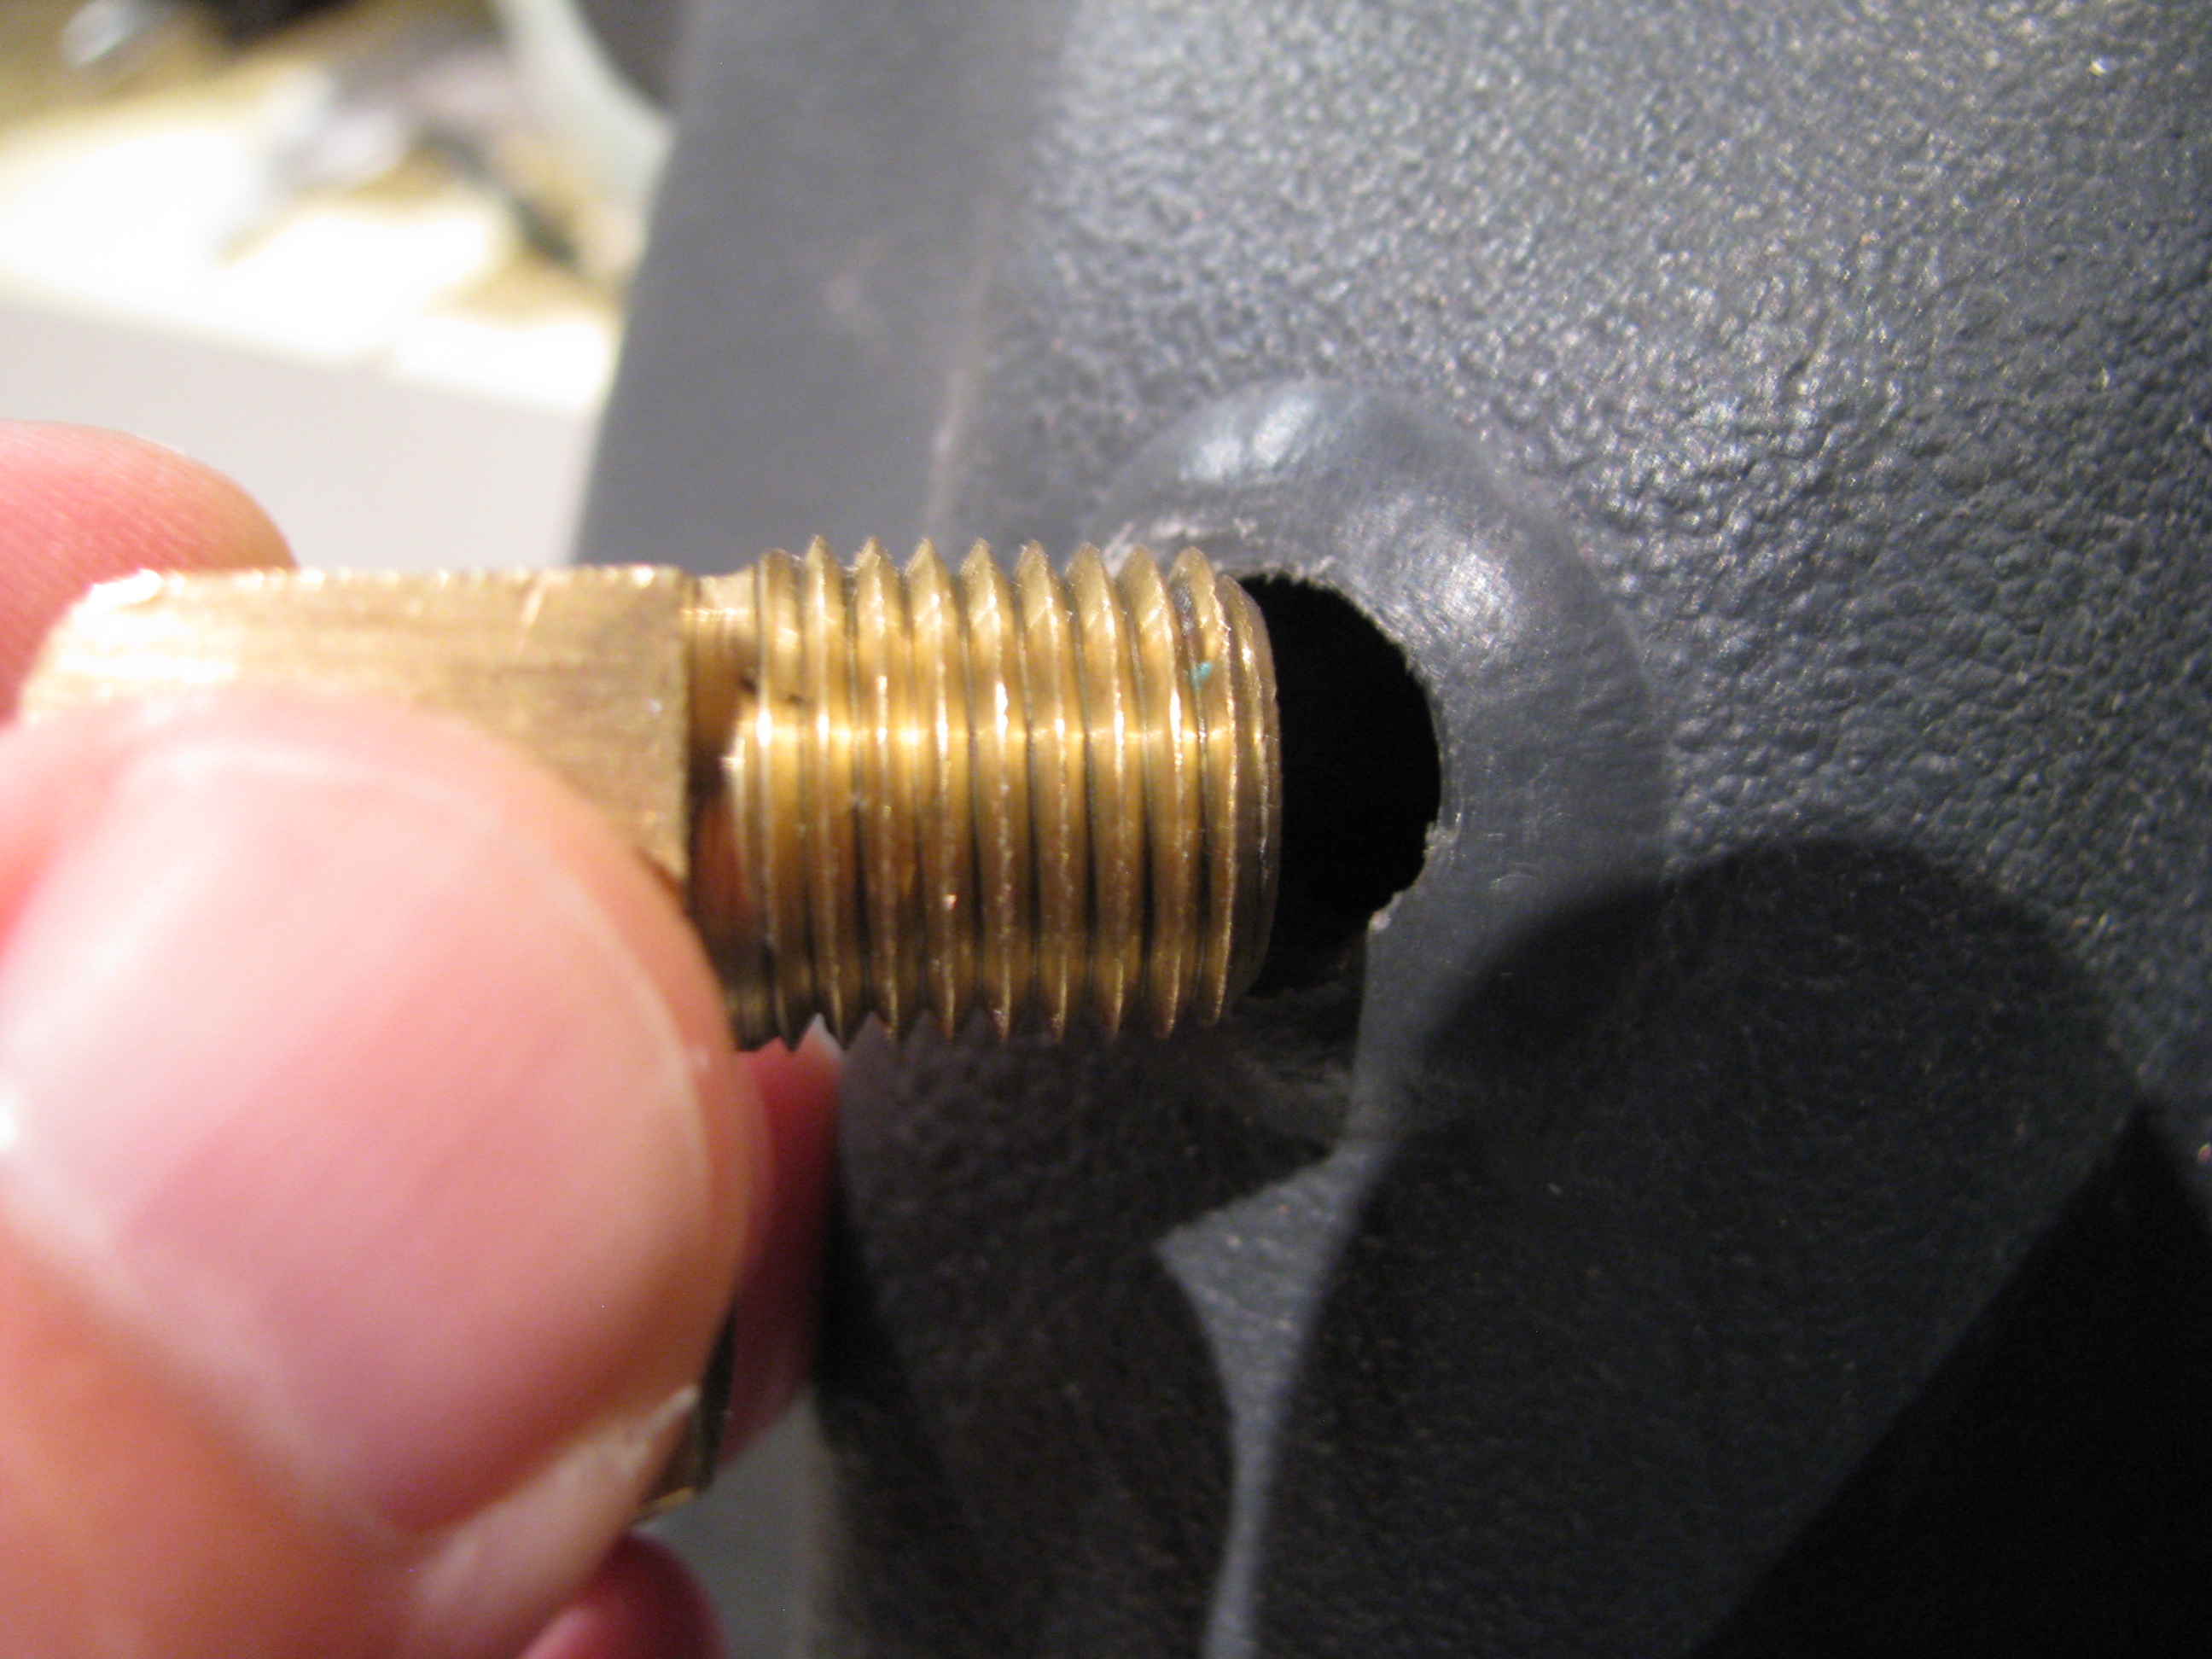
Next is fitting the air vent street elbow. There was no way mine was going to fit, so the next time I was at Harbor Freight I picked up a 1/4” NPT tap ($6 for a set of three- amazing).
Just tap enough to get it started (maybe one turn), otherwise it’ll probably be too much. The threaded area is pretty thin overall.
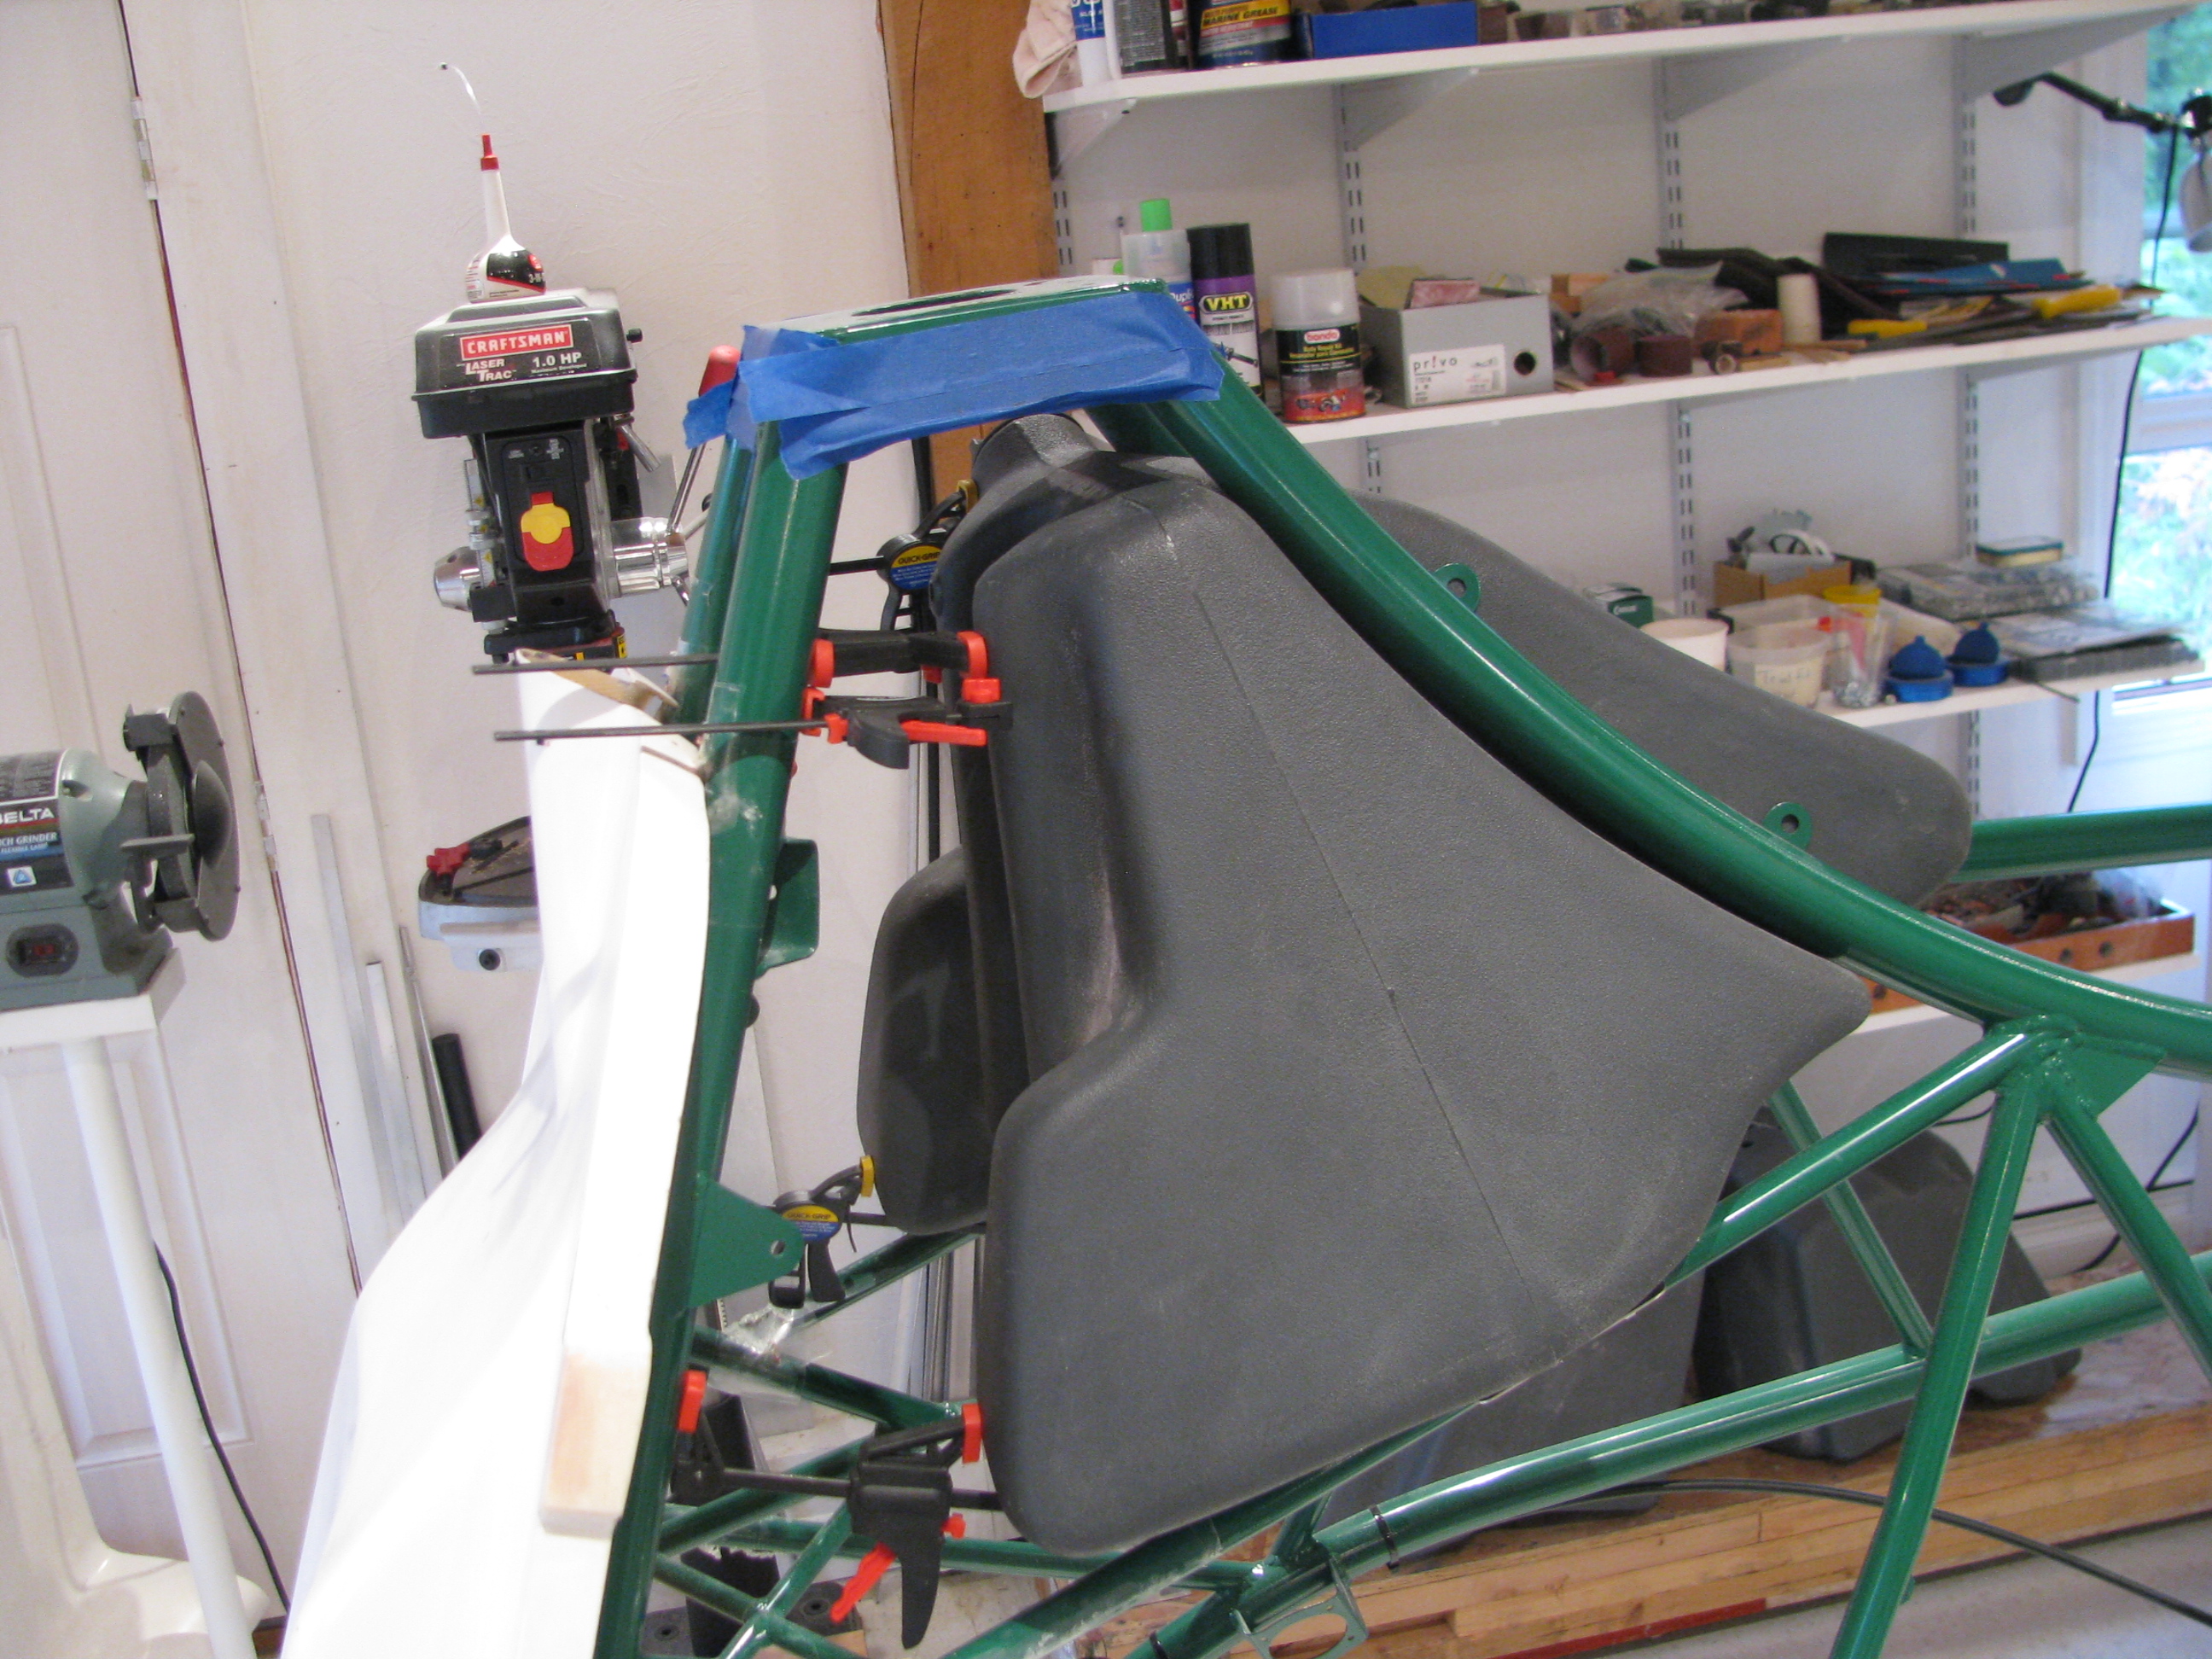
Quick Clamps with the jaws reversed so that they “separate” instead of “clamp” seem to work well to shove the tank back up against the frame tubes in preparation for drilling the mounting holes.
BJ has the tank base plates just tie-wrapped on. Even my dad thought that looked chinzy, so I may end up doing something beefier before final installation.
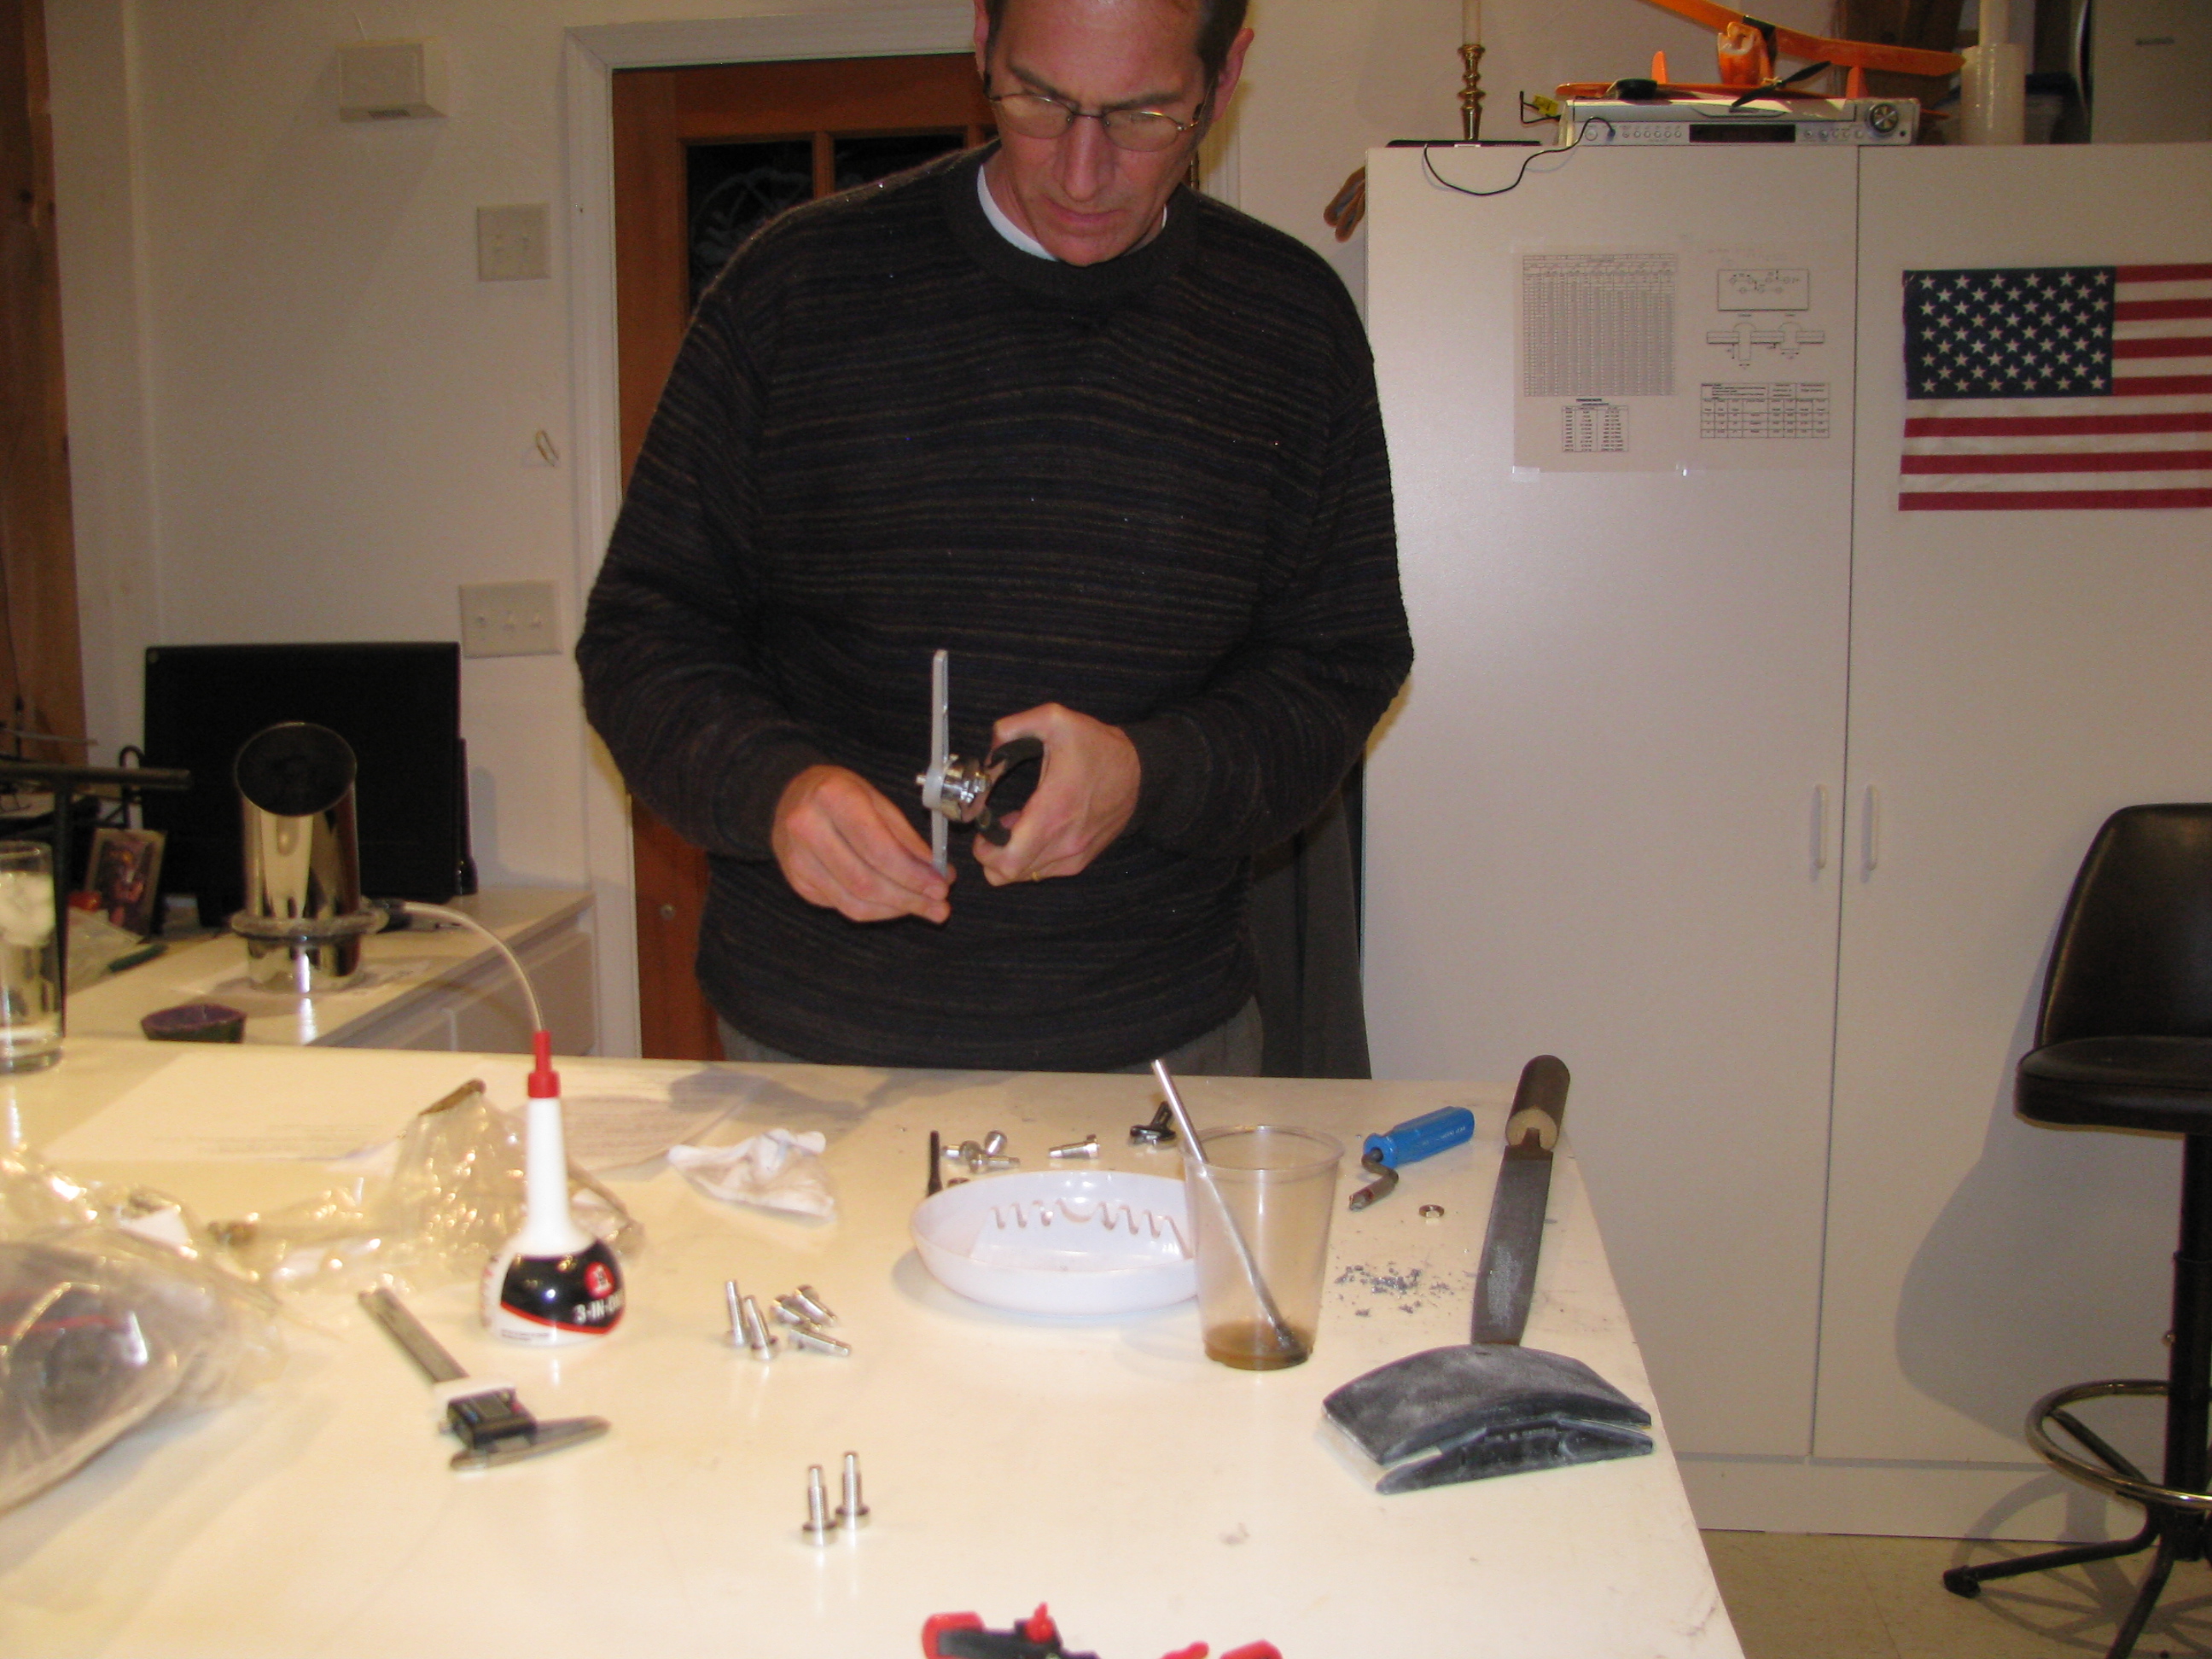


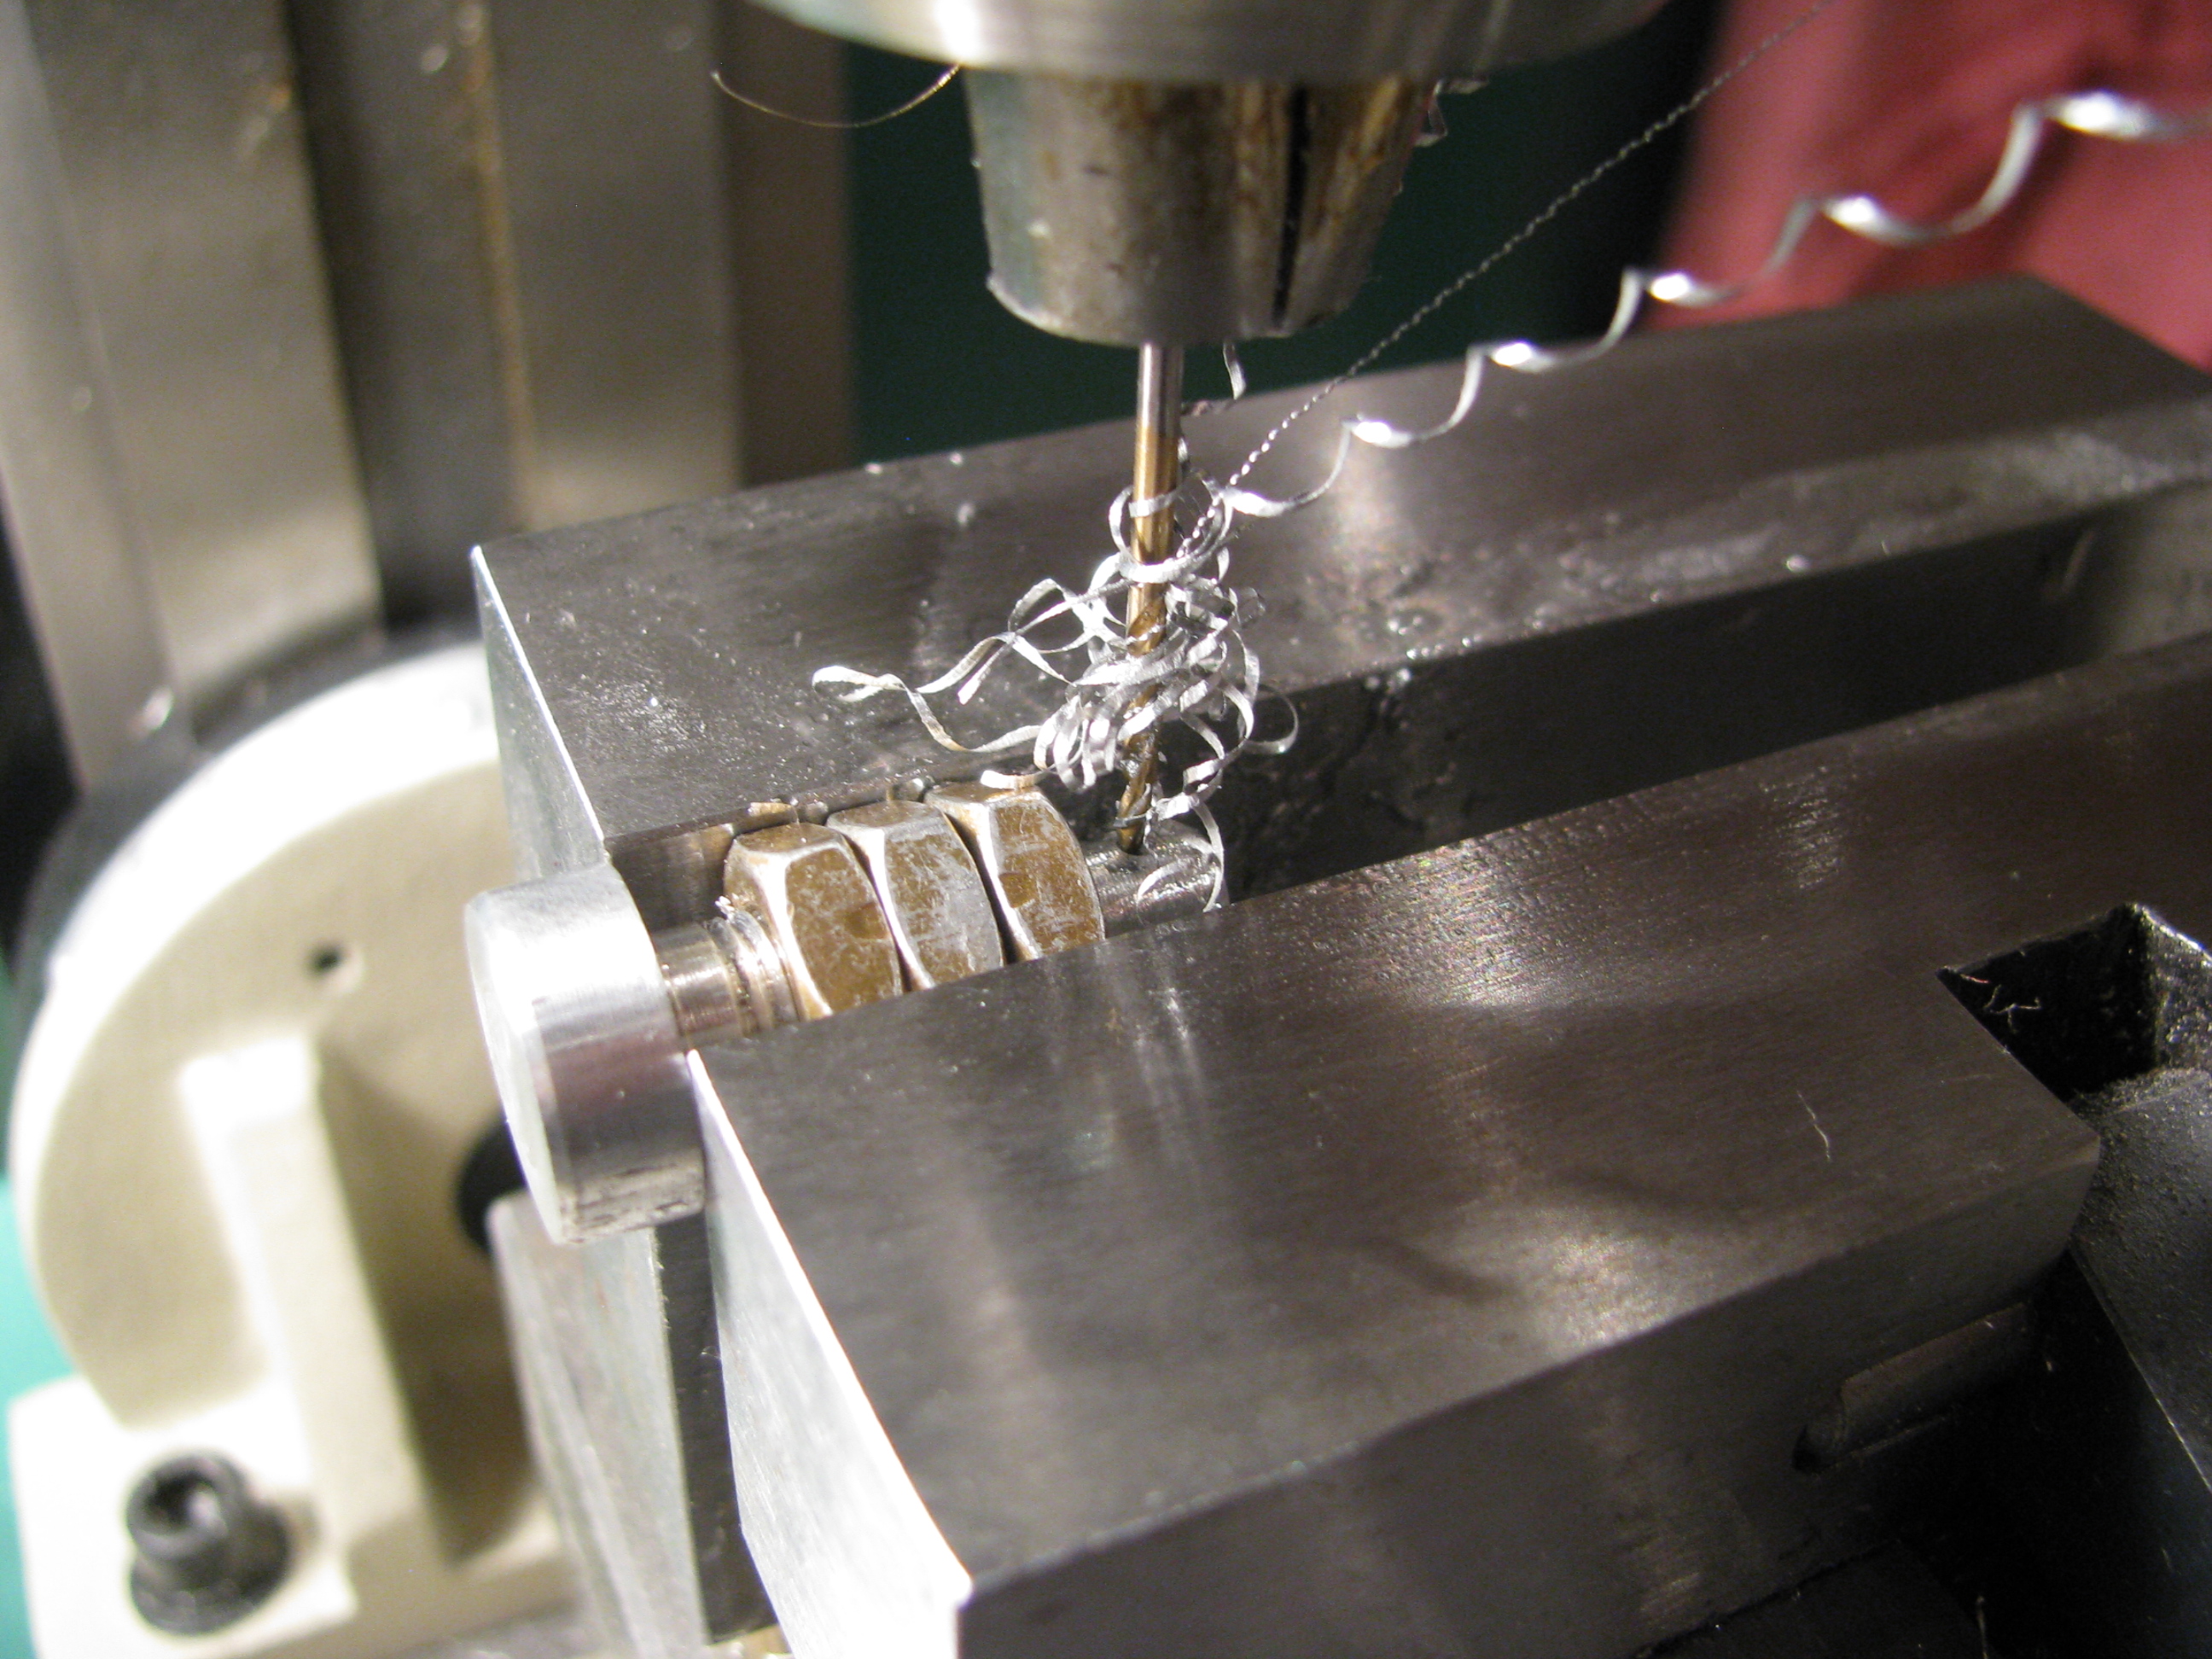
The machined tank mount bolt plugs were a little snug for the nuts. They had to be cleaned up with a 5/16-24 die, then the holes for the “fishing wire” drilled into the end portion. Another ad for the mill/drill. Quick and easy to center the holes. And of course a picture of me for the FAA.