Instrument Fitting
08/17/13 17:27 Filed in: All
Started by lathing up and tapping some struts to elevate the panel while fitting gauges. Having the lathe and mill always set up allows me to quickly bang out these pieces which facilitates the work.
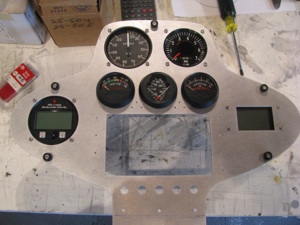
Gauge holes trimmed up and gauges fitted. I decided to fit the large gauges behind the panel just to improve the symmetry and improve the look. The square gauge on the right is my homemade digital compass.
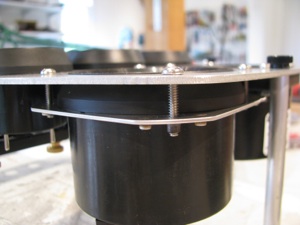
To flush mount the tach, I made this little plate to capture the gauge behind the panel. It’s really flat and parallel in spite of the camera distortion.
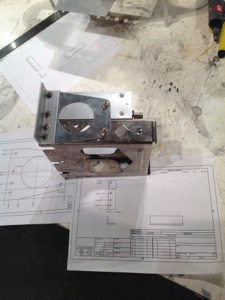
I am really digging having the mill with DROs. Made up a little sketch of the angles to mount the trays from the Garmin specs, measured and drilled and everything fit. The digital readouts make this operation a cinch. Also, the tolerances achievable are amazing.
Freehand, this would have required a bunch of fiddling and tweaking to get to fit. With the precision of the machine tools it basically falls together.


