
Milling Machine
06/13/13 17:59 Filed in: All
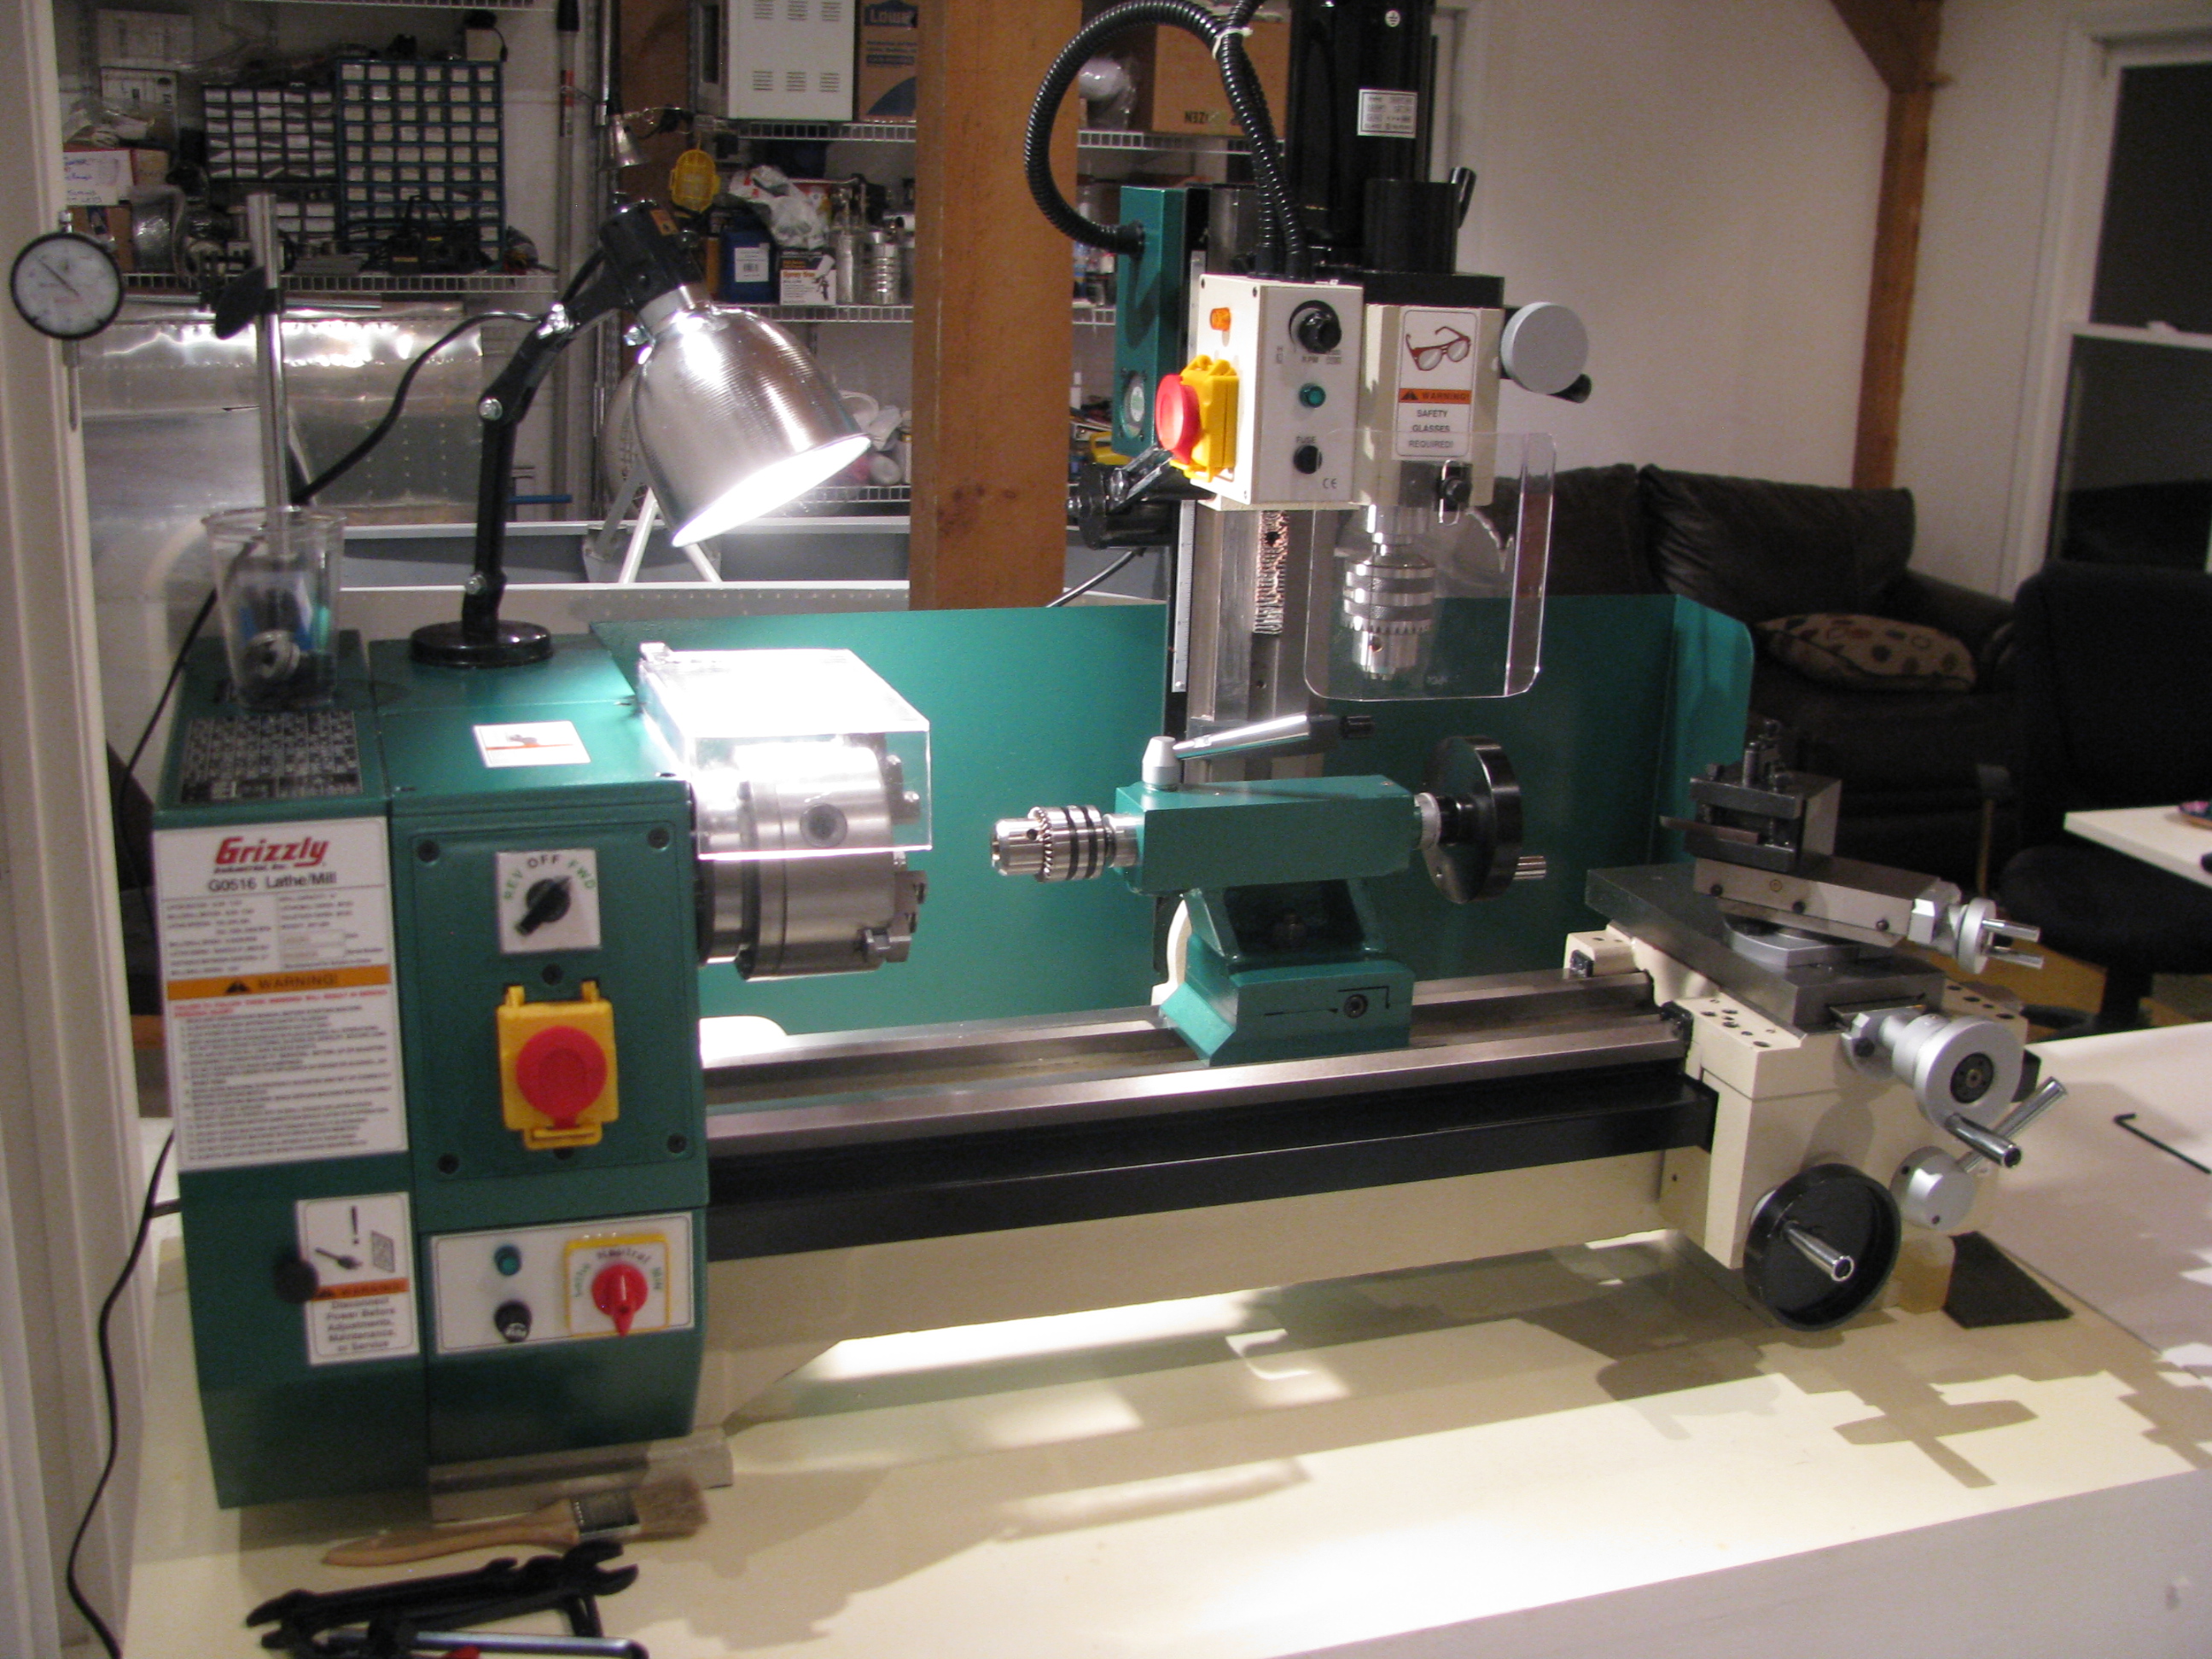
About 3 years ago I invested in a Grizzly G0516 Lathe/Mill/Drill. The lathe is great. Very capable. The drill very precise. With patience you can drill very accurate holes. Milling left a lot to be desired. It took a lot of setup and then the machining was tough with the small mill table and relatively imprecise control using the lathe slide as the table movement control.
On paper it sounds great, but like many before, I have realized its limitations and really only used it for milling maybe 4 or 5 times seriously.
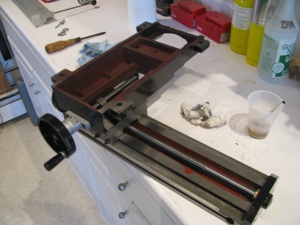
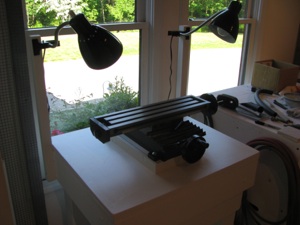
Little Machine Shop (.com) offers this milling table (shown here upside down). It is a little larger than a Sieg X2 table and the G0516 milling head bolts right to the back, effectively making a big-table X2 mill.
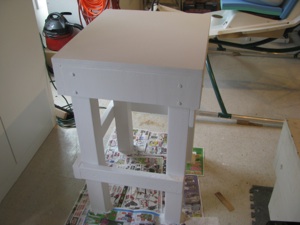
Step one is to fabricate a sturdy table made to fit in the only convenient spot left in my shop (too many projects). 4x4 legs, 2x6 table stringers, 3/4” ply and 3/4” mdf forming the top with 3 or 4 coats of urethane to seal it all up.
Everything is screwed and glued to keep it as stiff as possible. The surface is true within 0.1degree (I love my digital level).
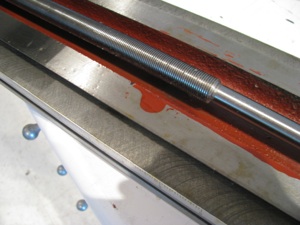
As with the lathe, the first step is to take everything apart, clean off the shipping grease, and check all the surfaces. It felt pretty bad right out of the box - very sloppy movement - alternatively too tight and too loose with lots of side play.
That shipping grease turns to something like chewing gum and some of the sliding surfaces had paint on them. Don’t even think of using these Chinese machines right out of the box.
But as with the Grizzly, after a little work the motion cleans up, smooths out, and the tolerances can be snugged up substantially.
Virtually no play on the table movement once the gibs are adjusted. The motion is kind of stiff. After some use I may lap the ways and gibs to smooth it out and allow freer motion.
Complain as folks might about the Chinese machine tools, the value per dollar is amazing.
I don’t have any pictures of my tramming - my first time doing it with any precision. It took hours. I first made a tool I could chuck up in the mill that rigidly held my dial indicator 3-4 inches off centerline.
The Y error was about 9 mils at the start. This is the fore/aft “lean” of the mill column. To adjust it you unbolt the casting that holds the giant column mount stud, tilt it the appropriate direction and add shims to the appropriate side. Very thin shims. Doing the trig showed that I needed 2.5-3.5 mils of shim. My thinnest shim stock is 5 mill brass, so I ended up using aluminum foil. Lightly grease up one side (so it sticks) and layer it together. I needed a strip about 3 layers thick to get the Y tram. Since aluminum is not the strongest, I will have to check this periodically.
Since the column is designed to tilt left and right, it is just a matter of loosening the giant bolt and tilting/bumping the head until things are accurate, then snugging it down.
I ended up with about 0.5 mil Y tram error and just less in the X. I only have a dial indicator, so this is all probably within the error of the indicator, but sufficient for anything i will need it for.
Interestingly, the Jacob’s chuck had about 1.5mills of runout (since I was measuring stuff anyway). When I switch to a milling collet I will check the runout of that to see if its the chuck or the spindle head (I hope it’s the chuck).
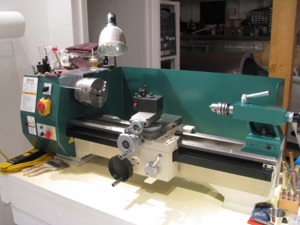
The lathe denuded of the milling head. Whenever I needed the lathe it seemed I had t set up to drill and vice versa. This new arrangement should be much more efficient and I will be more inclined to use the mill for precision drilling instead of the old drill press.
Next up is to add my DRO indicators to the mill table. I’m going to make some chips first.